Selling: quotation to invoice
The sales cycle is the backbone of daily work. This chapter follows one order from the first quote to a paid invoice.
What you need before you start
A sales document is built out of two records, so both must exist before you can write one:
- an Item — anything you sell: a product, a raw material, or a service;
- a Customer — the company or person you are selling to.
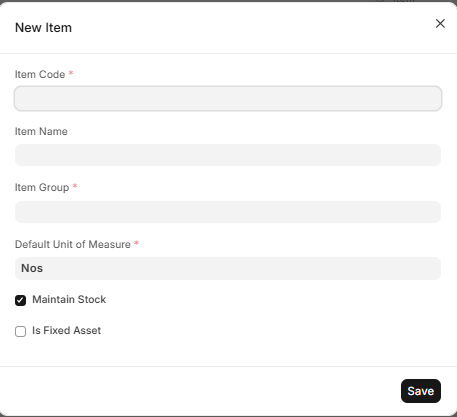
To create either one, press Ctrl+G from anywhere in your ERP, type the
word Item or Customer, open the list and click New. The
Items, customers and suppliers chapter goes through every field.
Save and Submit are not the same thing
This is the single most important thing in the chapter. Every document below has two separate buttons, and confusing them is what causes almost every problem people write to us about.
| Button | What it does | Can you still edit it? | Effect |
|---|---|---|---|
Save (Ctrl+S) |
Keeps your work as a draft | Yes, freely | None — no stock moves, no accounting entry |
| Submit | Makes the document official and locks it | No | Real — stock moves, accounting entries are made |
Save as often as you like; a half-finished invoice sitting as a draft harms nothing. Read the document once more before you press Submit.
The four documents
Your ERP treats a sale as a chain of four documents. Each one creates the next with a single button, so you never retype the lines, and at any moment you can see how far an order has got.
| Document | What it means | What Submit does |
|---|---|---|
| Quotation | Your offer to the customer | Nothing to stock or accounts |
| Sales Order | The customer accepted your offer | Records the commitment; still no accounting entry |
| Delivery Note | The goods left your warehouse | Reduces your stock |
| Sales Invoice | You are asking the customer to pay | Records the sale in your accounts: the income, and the money this customer now owes you |
If you sell services, or invoice on the spot over the counter, go straight to the sales invoice. The chain is there to help you track commitments, not to force paperwork on you.
Step 1 — Quotation
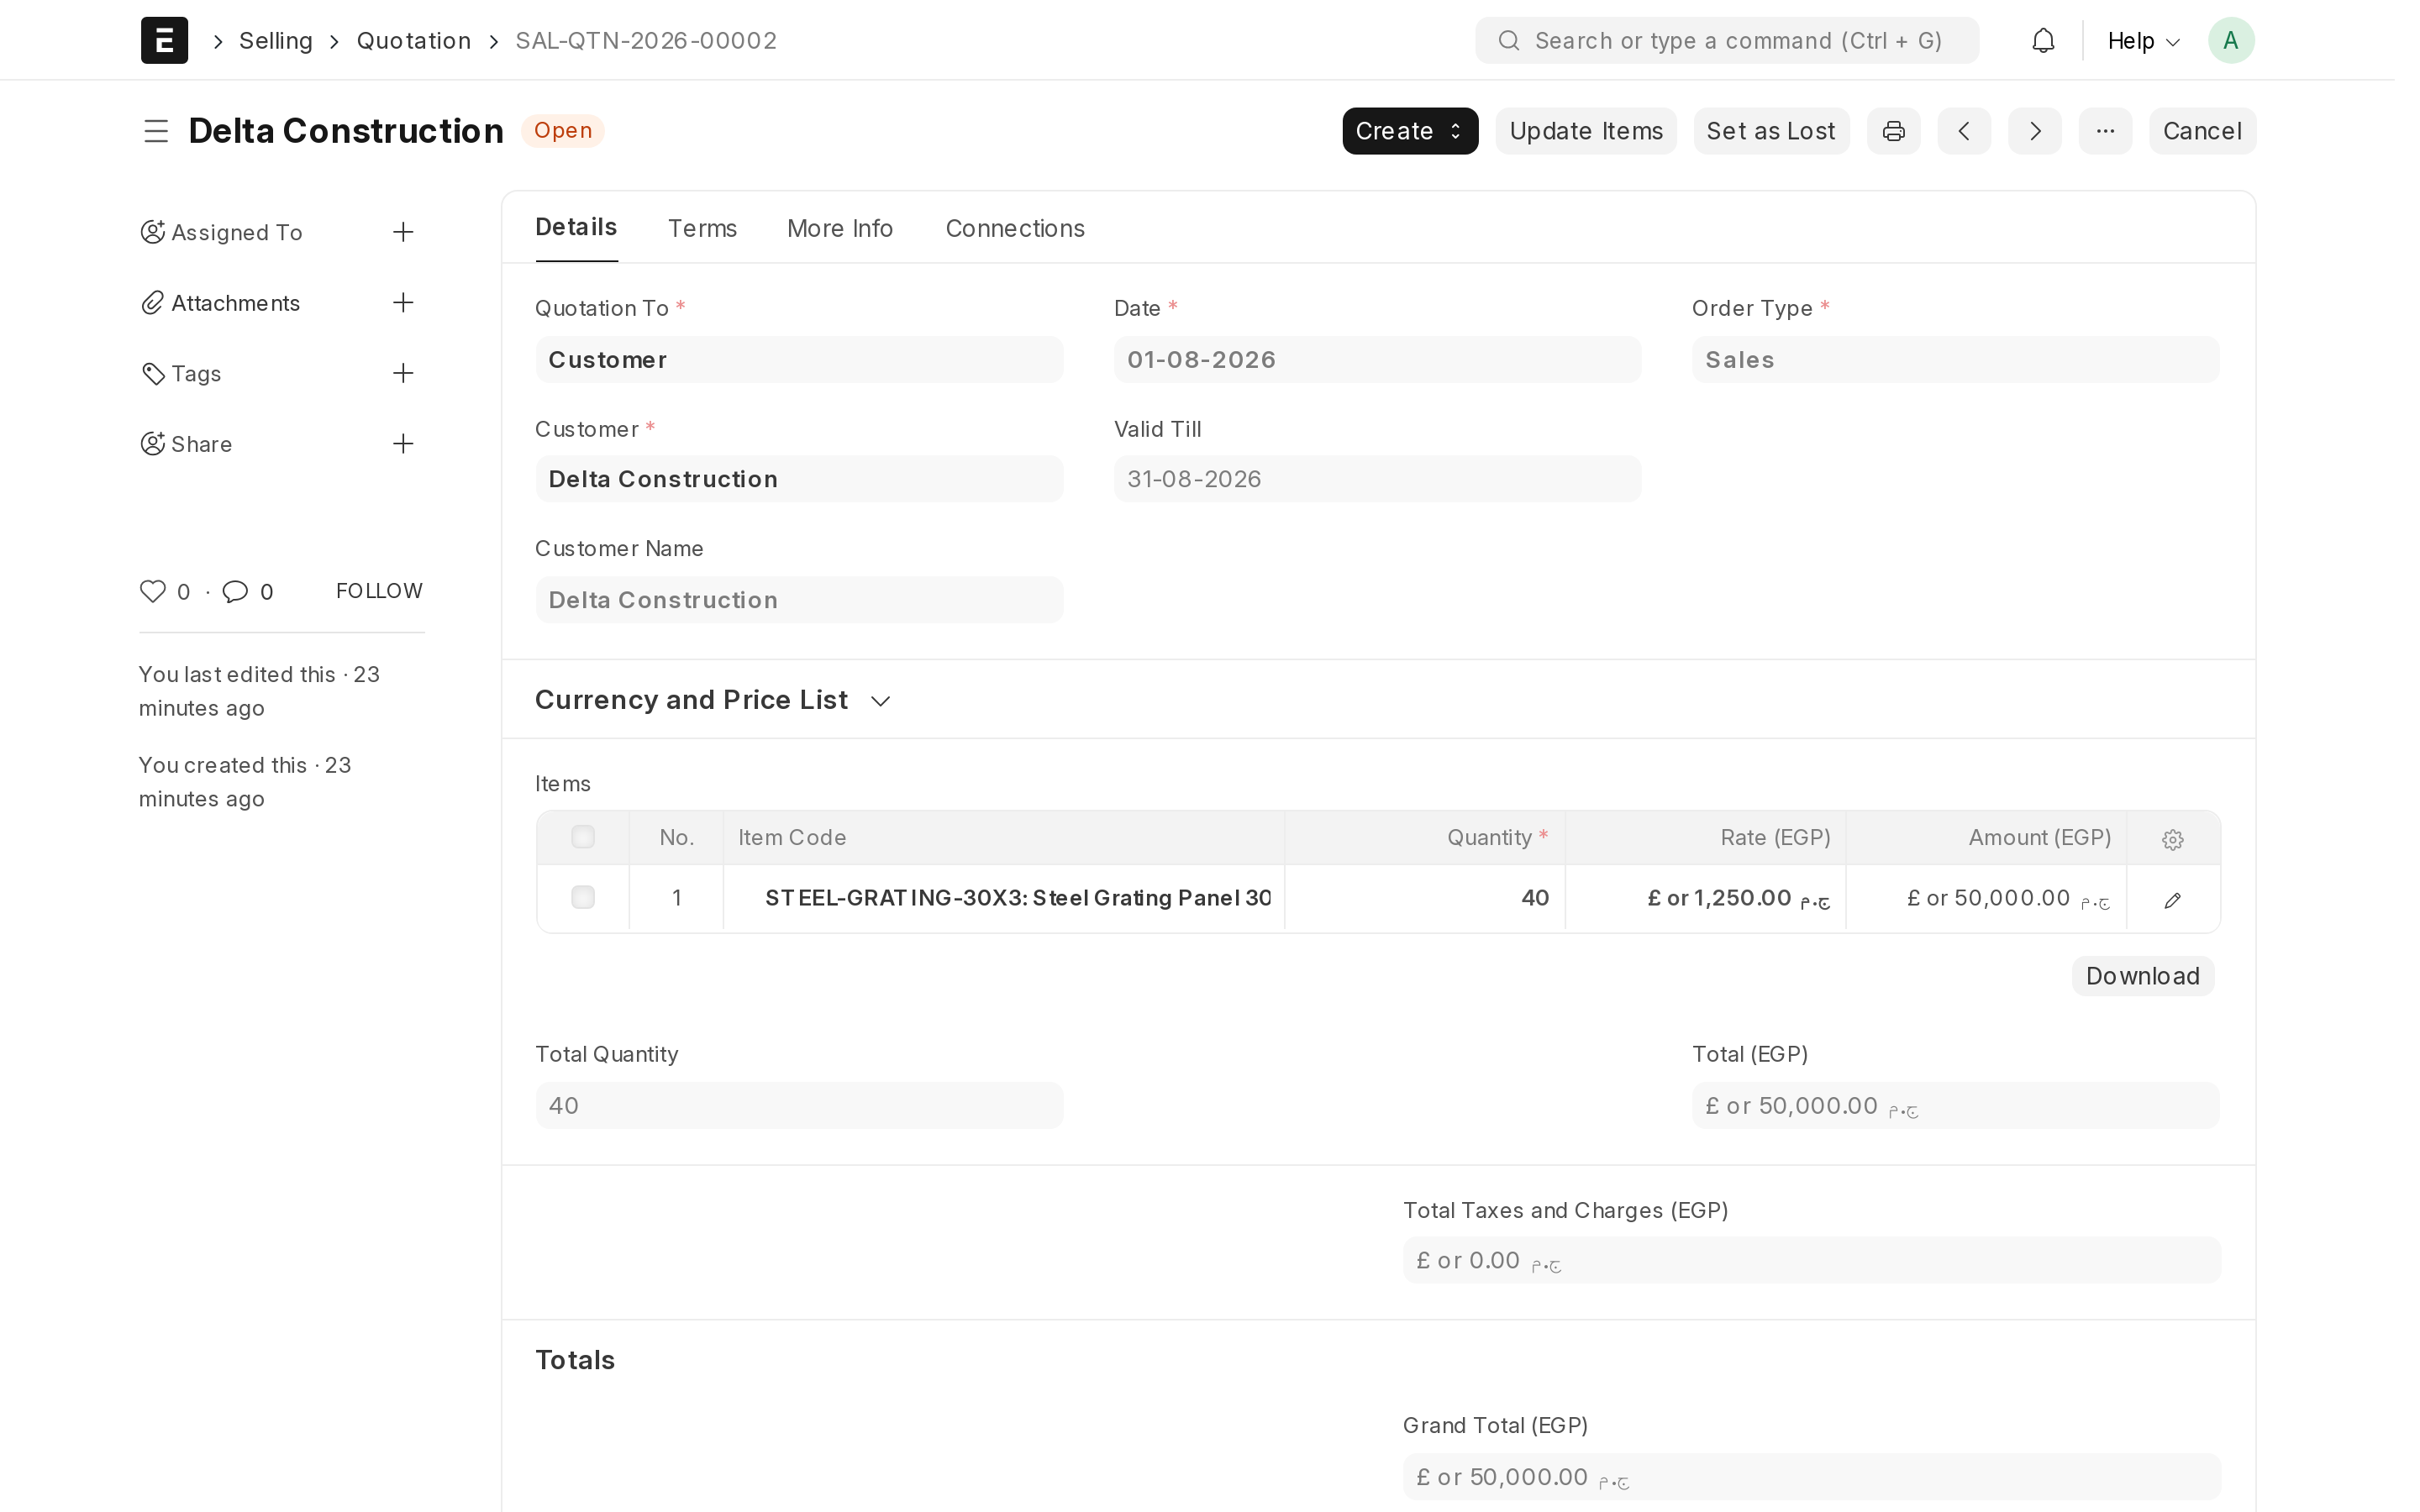
The quotation is the offer you send the customer, and it is where the prices and quantities are agreed, so everything later copies from it.
- Press
Ctrl+G, type Quotation and choose New. A blank quotation opens. - Leave Quotation To set to Customer, then pick the customer. Their currency and agreed prices fill in by themselves.
- In the items table, add a row for each thing you are offering: choose the item, then enter the quantity and the rate. The description and default price appear on their own; change the rate here if you agreed a different one.
- Check the Valid Till date — how long your prices stand — and the taxes at the bottom.
- Click Save. The document gets a number and sits as a draft you can still change.
- When you are satisfied, click Submit. The status changes and the document is now locked.
- Use Print to produce a PDF, or Email to send it to the customer straight from your ERP.
Step 2 — Sales Order
The sales order is the record that the customer said yes, which is what lets you see what you have promised and not yet delivered.
- Open the submitted quotation.
- Click Create in the top right, then Sales Order. A new order opens with the customer and all the item rows already filled in.
- Confirm the Delivery Date you are promising.
- Click Save, then Submit.
Step 3 — Delivery Note
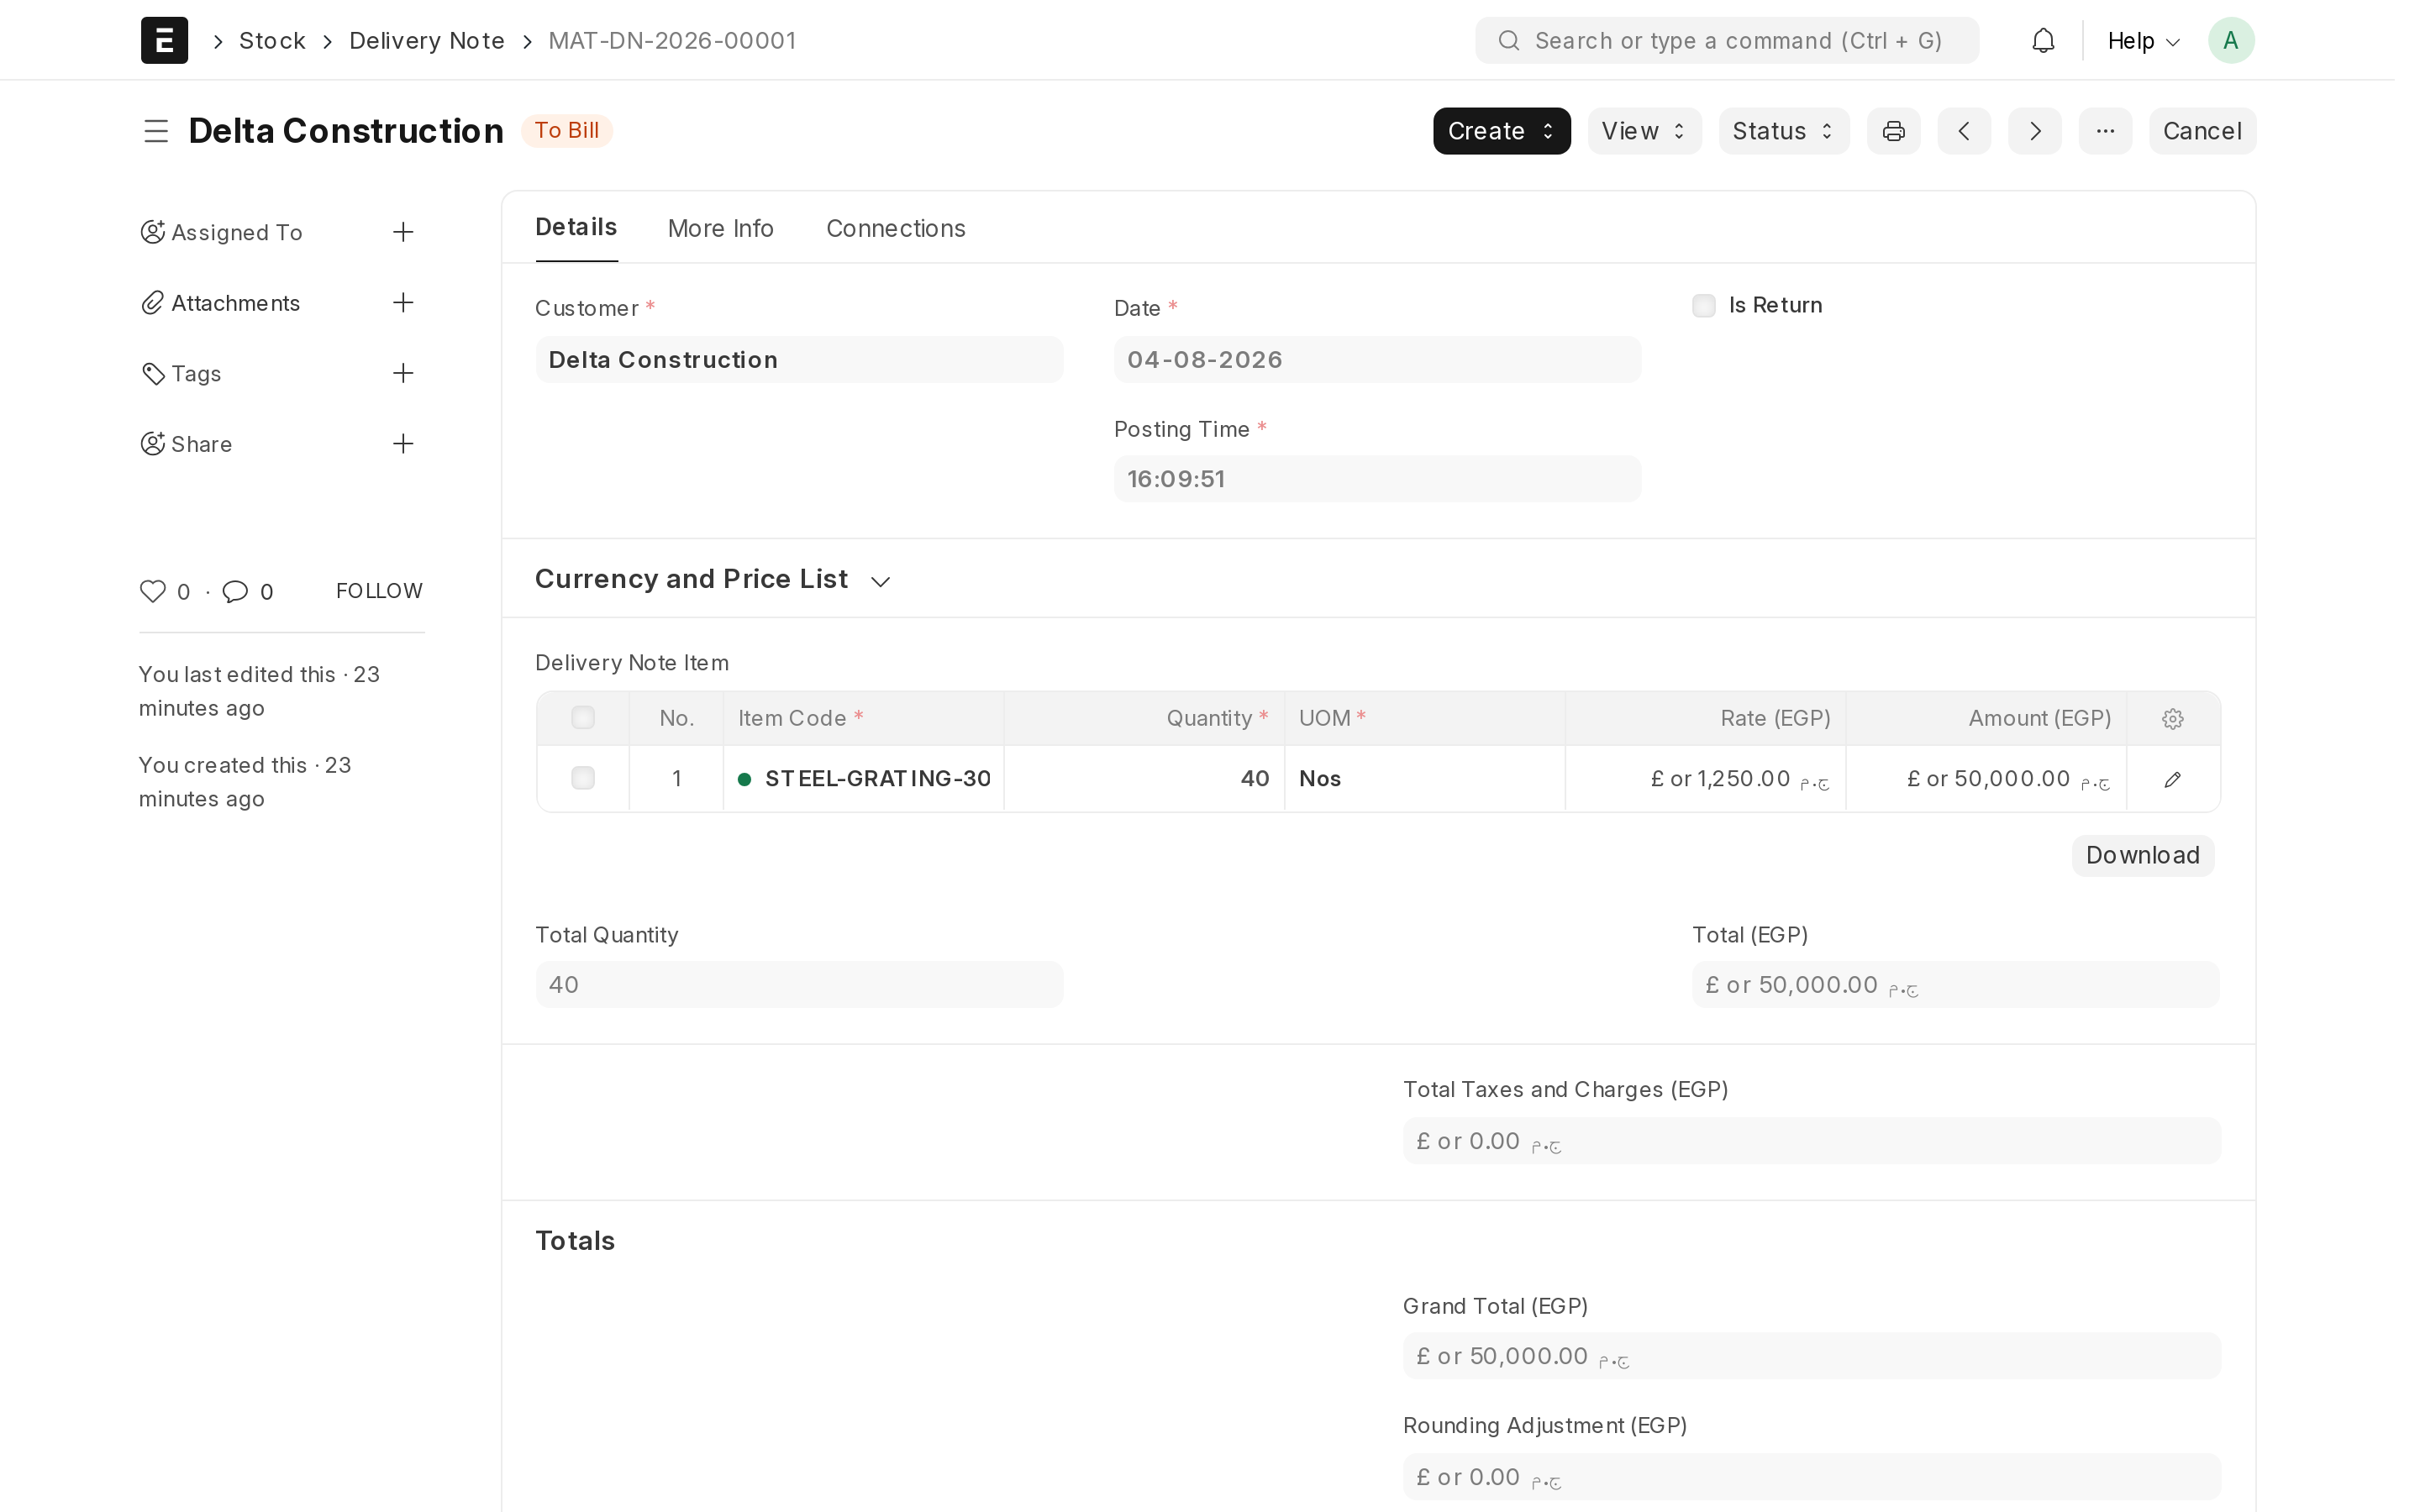
The delivery note records that the goods physically left, which is what keeps your stock figures matching what is actually on the shelves. Skip this step entirely if you sell services.
- Open the submitted sales order.
- Click Create, then Delivery Note. The lines carry over.
- Check the quantities against what is actually going out, and check the warehouse named on each row.
- Click Save, then Submit. At that moment the stock is reduced in that warehouse.
- Use Print to give the driver or the customer a copy.
Step 4 — Sales Invoice
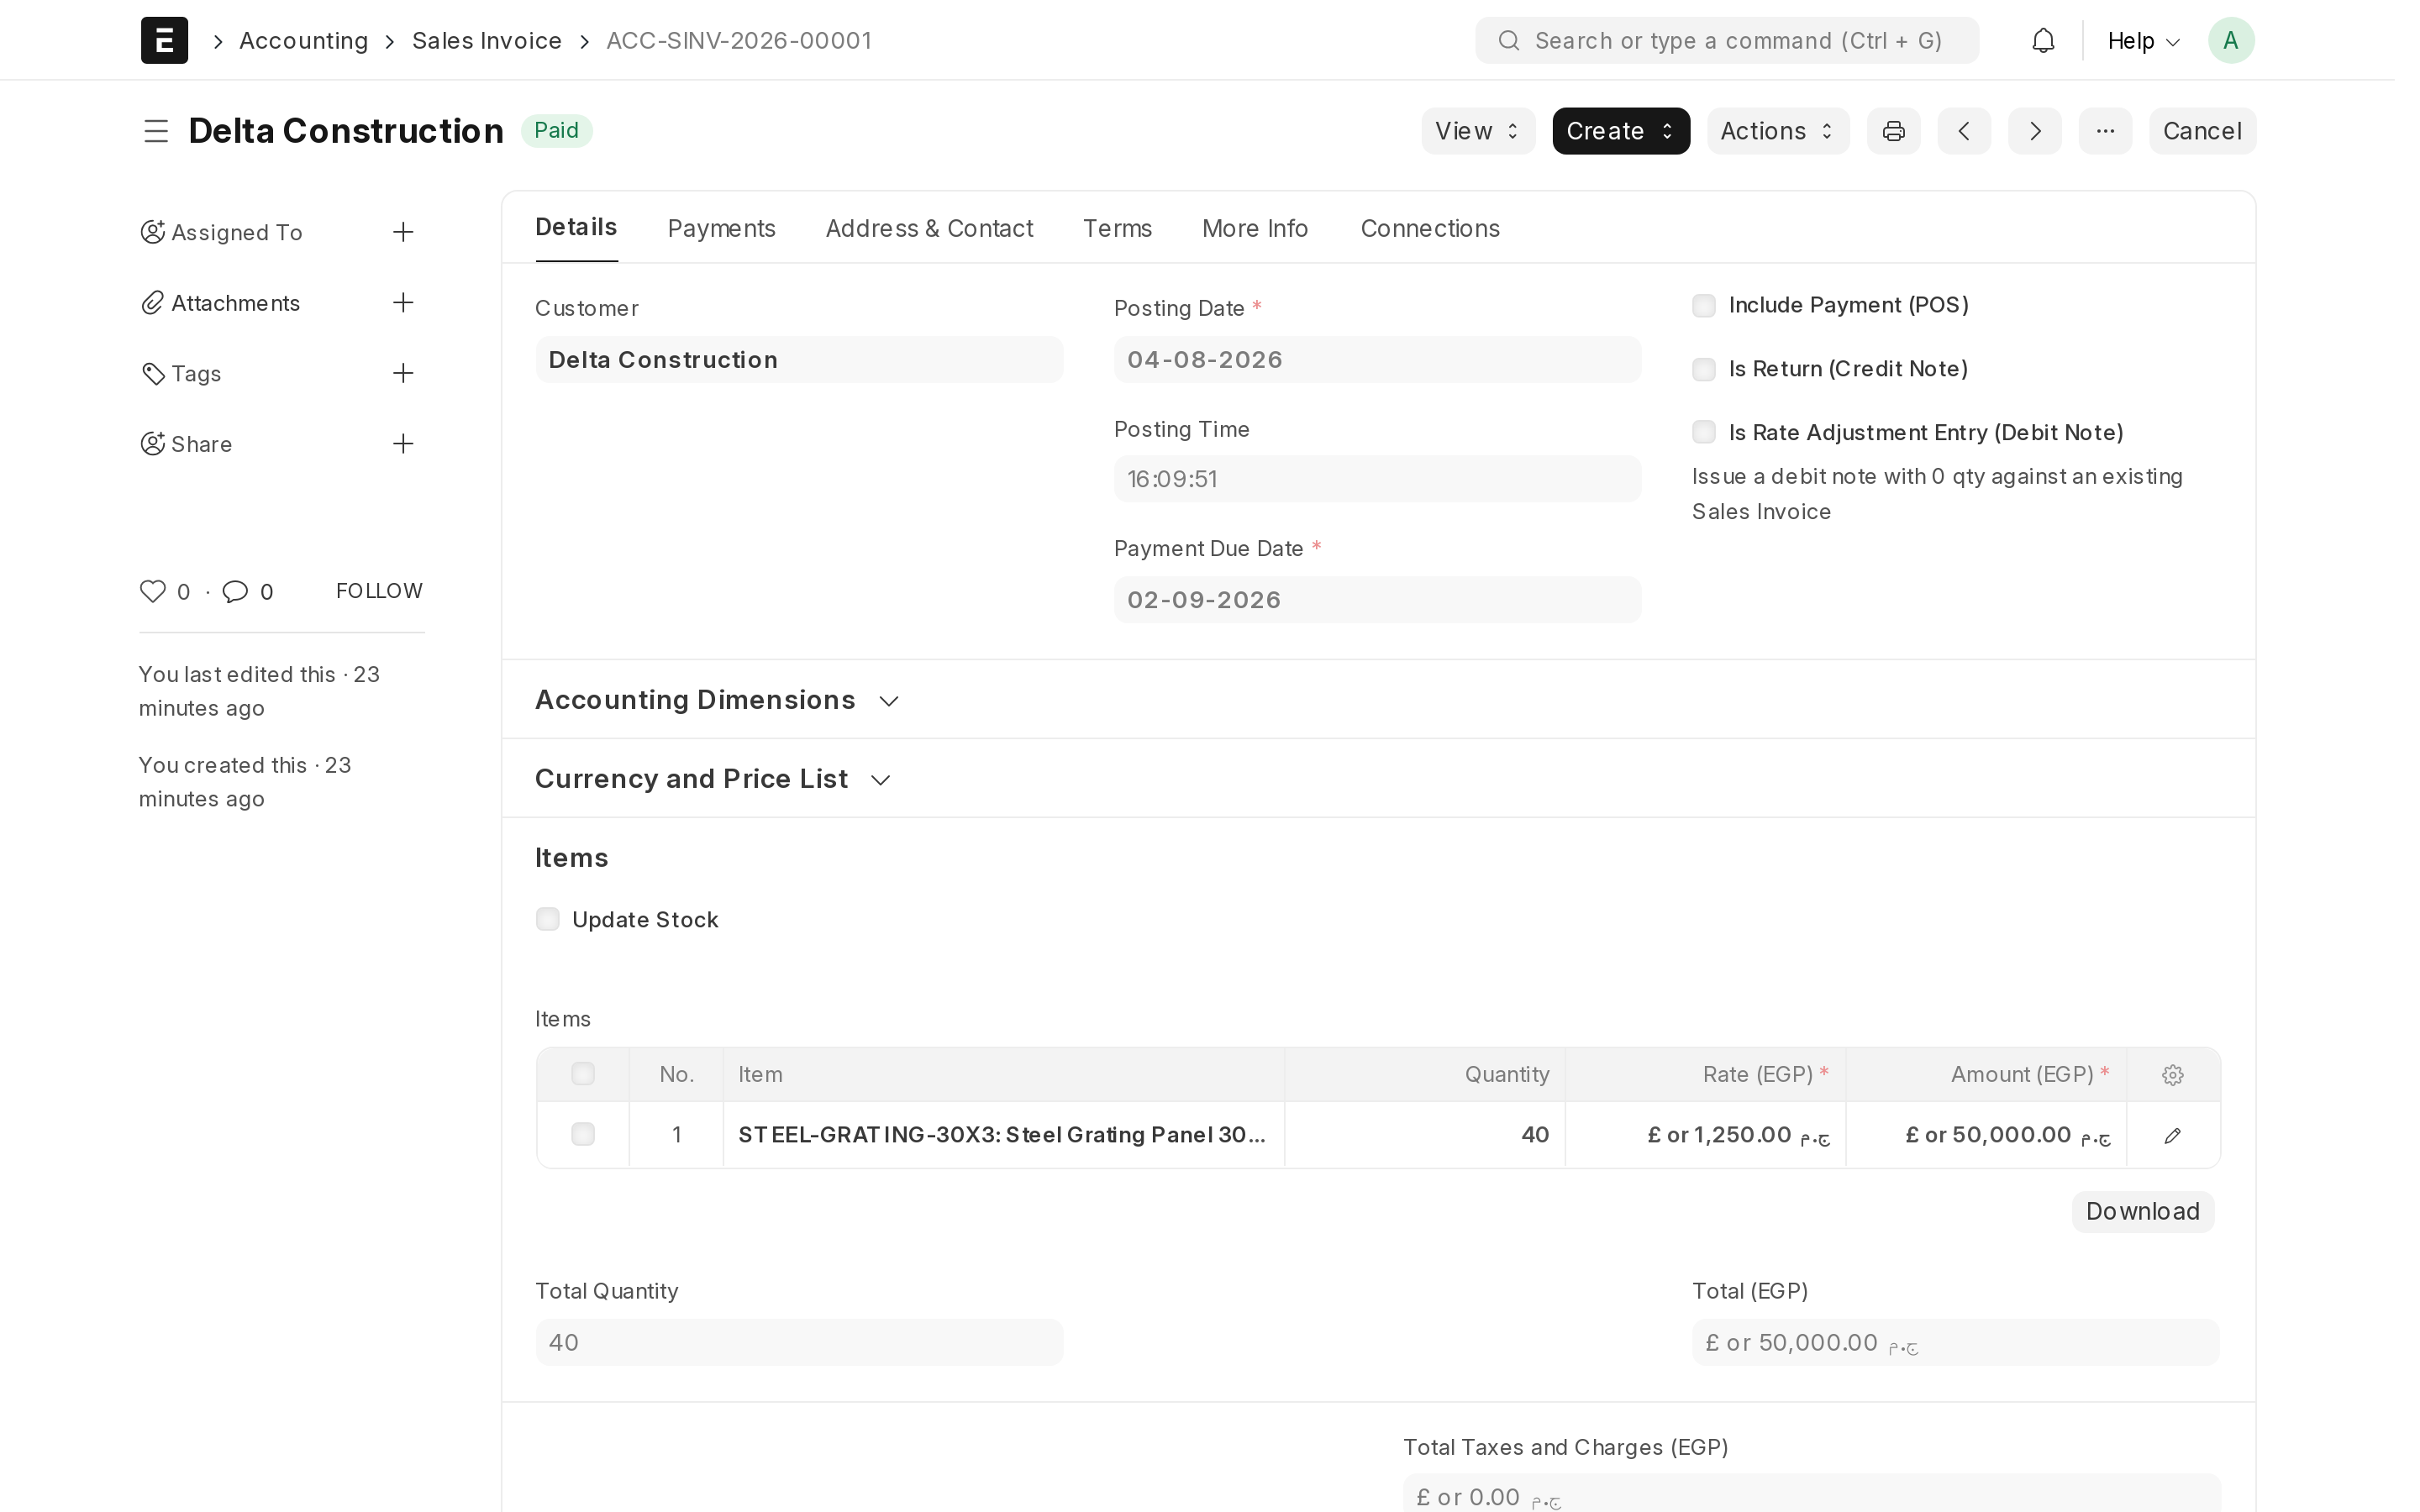
The invoice is where the sale finally reaches your accounts, and where the customer's debt to you starts.
- Open the sales order, or the delivery note if you made one.
- Click Create, then Sales Invoice.
- Check the Due Date, which comes from the payment terms on the customer's record, and check the taxes at the bottom.
- Click Save to keep it as a draft, and read it once more.
- Click Submit. This is the moment the income and the customer's debt are recorded in your accounts. The status becomes Unpaid.
- Use Print or Email to send it to the customer.
Choosing how your invoice looks
When you click Print, the document opens in a print layout, and there is a Print Format box at the top of that screen where you can switch between layouts. Two of them are ours, installed in your system from the day it was built:
- Bilingual Tax Invoice — for sales invoices. Arabic and English together, in your brand colour, with your logo and company details.
- Bilingual Delivery Note — the same treatment for delivery notes.
One of them is already selected for you, so you do not have to choose every time you print. Saudi companies are the exception for invoices: there the ZATCA Phase 2 Print Format is the default instead, because where the law sets the wording, the compliant layout should win. Ours stays in the list if you prefer it.
The other entries you will see — Commercial Invoice, Sales Auditing Voucher, Sales Invoice Print and so on — are the system's own standard layouts. They work perfectly well; they are simply not branded.
Making your own version
You can change how a layout looks, but change a copy of it, never ours:
- Type Print Format into the search bar and open that list.
- Open Bilingual Tax Invoice, then use the menu to Duplicate it, and give the copy a name of your own.
- Edit your copy, and pick it from the Print Format box whenever you print.
That also means the default can move back to ours after you save your branding. If you have chosen a different default, check it once after any branding change, or simply pick the layout you want from the Print Format box at the moment you print.
Recording the money when it arrives
Submitting an invoice records that the customer owes you. Recording the payment is a separate step, and until you do it the customer keeps appearing on your list of debtors.
- Open the submitted invoice.
- Click Create, then Payment. In some versions this is labelled Payment Entry; either way it opens the same form.
- Choose the account the money actually arrived in — your bank account or your cash box.
- Confirm the amount. If the customer paid only part of it, change the amount to what they really paid.
- Click Save, then Submit.
The invoice status changes to Paid, or to Partly Paid if some is still outstanding, and the customer's balance drops accordingly.
An invoice that issues itself every month
Rent, a maintenance contract, a retainer — the same invoice to the same customer on the same day of every month. You can raise the first one and let the system issue the rest.
This is set up on an invoice you have already submitted, because the repeat copies that invoice: the same customer, the same lines, the same amounts.
- Open a submitted sales invoice that looks like the one you want repeated.
- Open the Menu (top right) and choose Repeat.
- Set Frequency to Monthly — or Weekly, Quarterly or Yearly.
- Set the Start date, and an End date if the arrangement finishes.
- Optionally add an email address under Notify by email so someone is told each time a new invoice appears.
- Save.
From then on the system creates the next invoice on schedule, as a draft. It is not sent to anyone and it is not in your accounts until you open it and submit it — deliberately, so a price change or a month the customer paused never becomes an invoice you did not check.
Where to see them all. Your home page has a Repeating invoices tile; it opens the list of every repeat you have set up, where you can pause one (Disable) or change its dates. The morning brief mentions any invoices that were issued overnight.
Only the Company edition sets this up on invoices. If you run a shop, a pharmacy or a restaurant, the counter is your selling screen and this section does not apply.
Correcting a document you already submitted
Submitted documents cannot be edited, because quietly changing a figure that has already reached your accounts is exactly what an ERP must never allow. Instead you reverse the document and issue a corrected copy, and both stay on the record.
- Open the document that is wrong.
- Click Cancel and confirm. Its effect is reversed: an invoice no longer counts in your accounts, a delivery note puts the stock back.
- Click Amend. You get an editable copy carrying the same information, numbered
after the original — invoice
ACC-SINV-0007becomesACC-SINV-0007-1. - Correct what was wrong, click Save, then Submit the corrected copy.
The cancelled document stays visible in the list on purpose. That trail — what was issued, that it was reversed, and what replaced it — is what an accountant or a tax inspector will ask to see. Deleting mistakes instead of cancelling them is precisely what an audit looks for.
Checking where you stand
Three reports answer the questions owners ask most. Press Ctrl+G, type the
report name and open it.
- Accounts Receivable — who owes you money, how much, and how long it has been outstanding.
- Sales Analytics — your sales broken down by customer, item or period.
- Item-wise Sales History — what actually sells, and to whom.
Sending a customer their statement
At the end of each month, send a customer one page that shows where they stand with you: the balance they carried into the month, every invoice and payment during the month, and the balance at the end. It is the first step of a collection call, and it answers "how much do I owe you?" before anyone asks.
- Open the customer.
- Click Send statement (top right).
- Choose the Statement month. Last month is already chosen.
- Tick By email, On WhatsApp, or both. The customer's email address and mobile number are filled in; correct them if they are out of date.
- Click Preview the PDF to see exactly what the customer will receive, then Send now.
The statement comes from your own accounts, on your own letterhead. A customer who bought nothing that month but still owes you still gets a statement, showing the balance they are carrying.
Each way of sending tells you what happened. If the email went and WhatsApp did not, you see both lines, and the email is not undone.
Email leaves from your own outgoing email, set up in the Nezmaro control panel under Marketing. WhatsApp leaves from your own WhatsApp number, set up under Marketing → WhatsApp. Until one is set up, the button says so instead of sending. Only people who can see your accounts can send a statement.
Common questions
The customer changed the quantity after the order
If nothing has been delivered or invoiced yet, cancel the sales order and amend it, as described above. If part of it has already gone out, leave that order alone and create a new one for the difference — that way both the delivered part and the extra part keep an honest record.
Can I invoice without a sales order?
Yes. Create a sales invoice directly and add the item rows yourself. You lose the record of what was promised in advance, which for a walk-in sale you did not need anyway.
Why does an old customer still show as owing money?
Almost always because a payment was received but never recorded. Open the invoice and check its status: if it says Unpaid, follow the payment steps above.