Buying and stock
How goods come in, where they are stored, and how you keep the quantity in the system equal to the quantity on the shelf.
Buying is selling in reverse
Purchasing uses the same chain of documents as selling, pointing the other way: you order from a supplier, the goods arrive, the supplier bills you, and you pay. If you have read the selling chapter, most of this will already feel familiar.
Two words are used throughout this chapter, and both mean something ordinary:
- A supplier is the company or person you buy from — the mirror image of a customer. Create each one once (search for Supplier and choose New) and reuse it from then on.
- A warehouse is any named place where stock can sit. It does not have to be a building: a delivery van, a shop floor, a locked cabinet of spare parts or a shelf at a second branch all count as warehouses in the system.
Items are shared with sales — the same item record is used whether you buy it, sell it, or both.
The four documents
Each document creates the next one with a single button, so you never retype the lines.
| Document | What it means | Effect |
|---|---|---|
| Material Request (optional) | Someone inside your company asks for something to be bought | Nothing yet — no stock and no money recorded |
| Purchase Order | Your commitment to the supplier | Commits the purchase; still nothing recorded in your accounts |
| Purchase Receipt | The goods arrived at your warehouse | Increases stock |
| Purchase Invoice | The supplier's bill, which you now owe | Records the cost and the money you owe the supplier |
As with sales, the chain is a tool and not an obligation. For a small cash purchase you can enter a Purchase Invoice on its own and tick Update Stock on it, so one document both records the bill and brings the goods into the warehouse.
Step 1 — Material Request (optional)
A material request is an internal note — the workshop needs cable, the office needs paper. It is worth using when the person who knows what is needed is not the person who places orders. Skip this step entirely if you order things yourself.
- Search Material Request → New.
- Set Purpose to Purchase.
- Add the item rows with quantities, and the date they are needed by.
- Click Save, then Submit. No supplier has been named and nothing has been promised to anyone.
Step 2 — Purchase Order
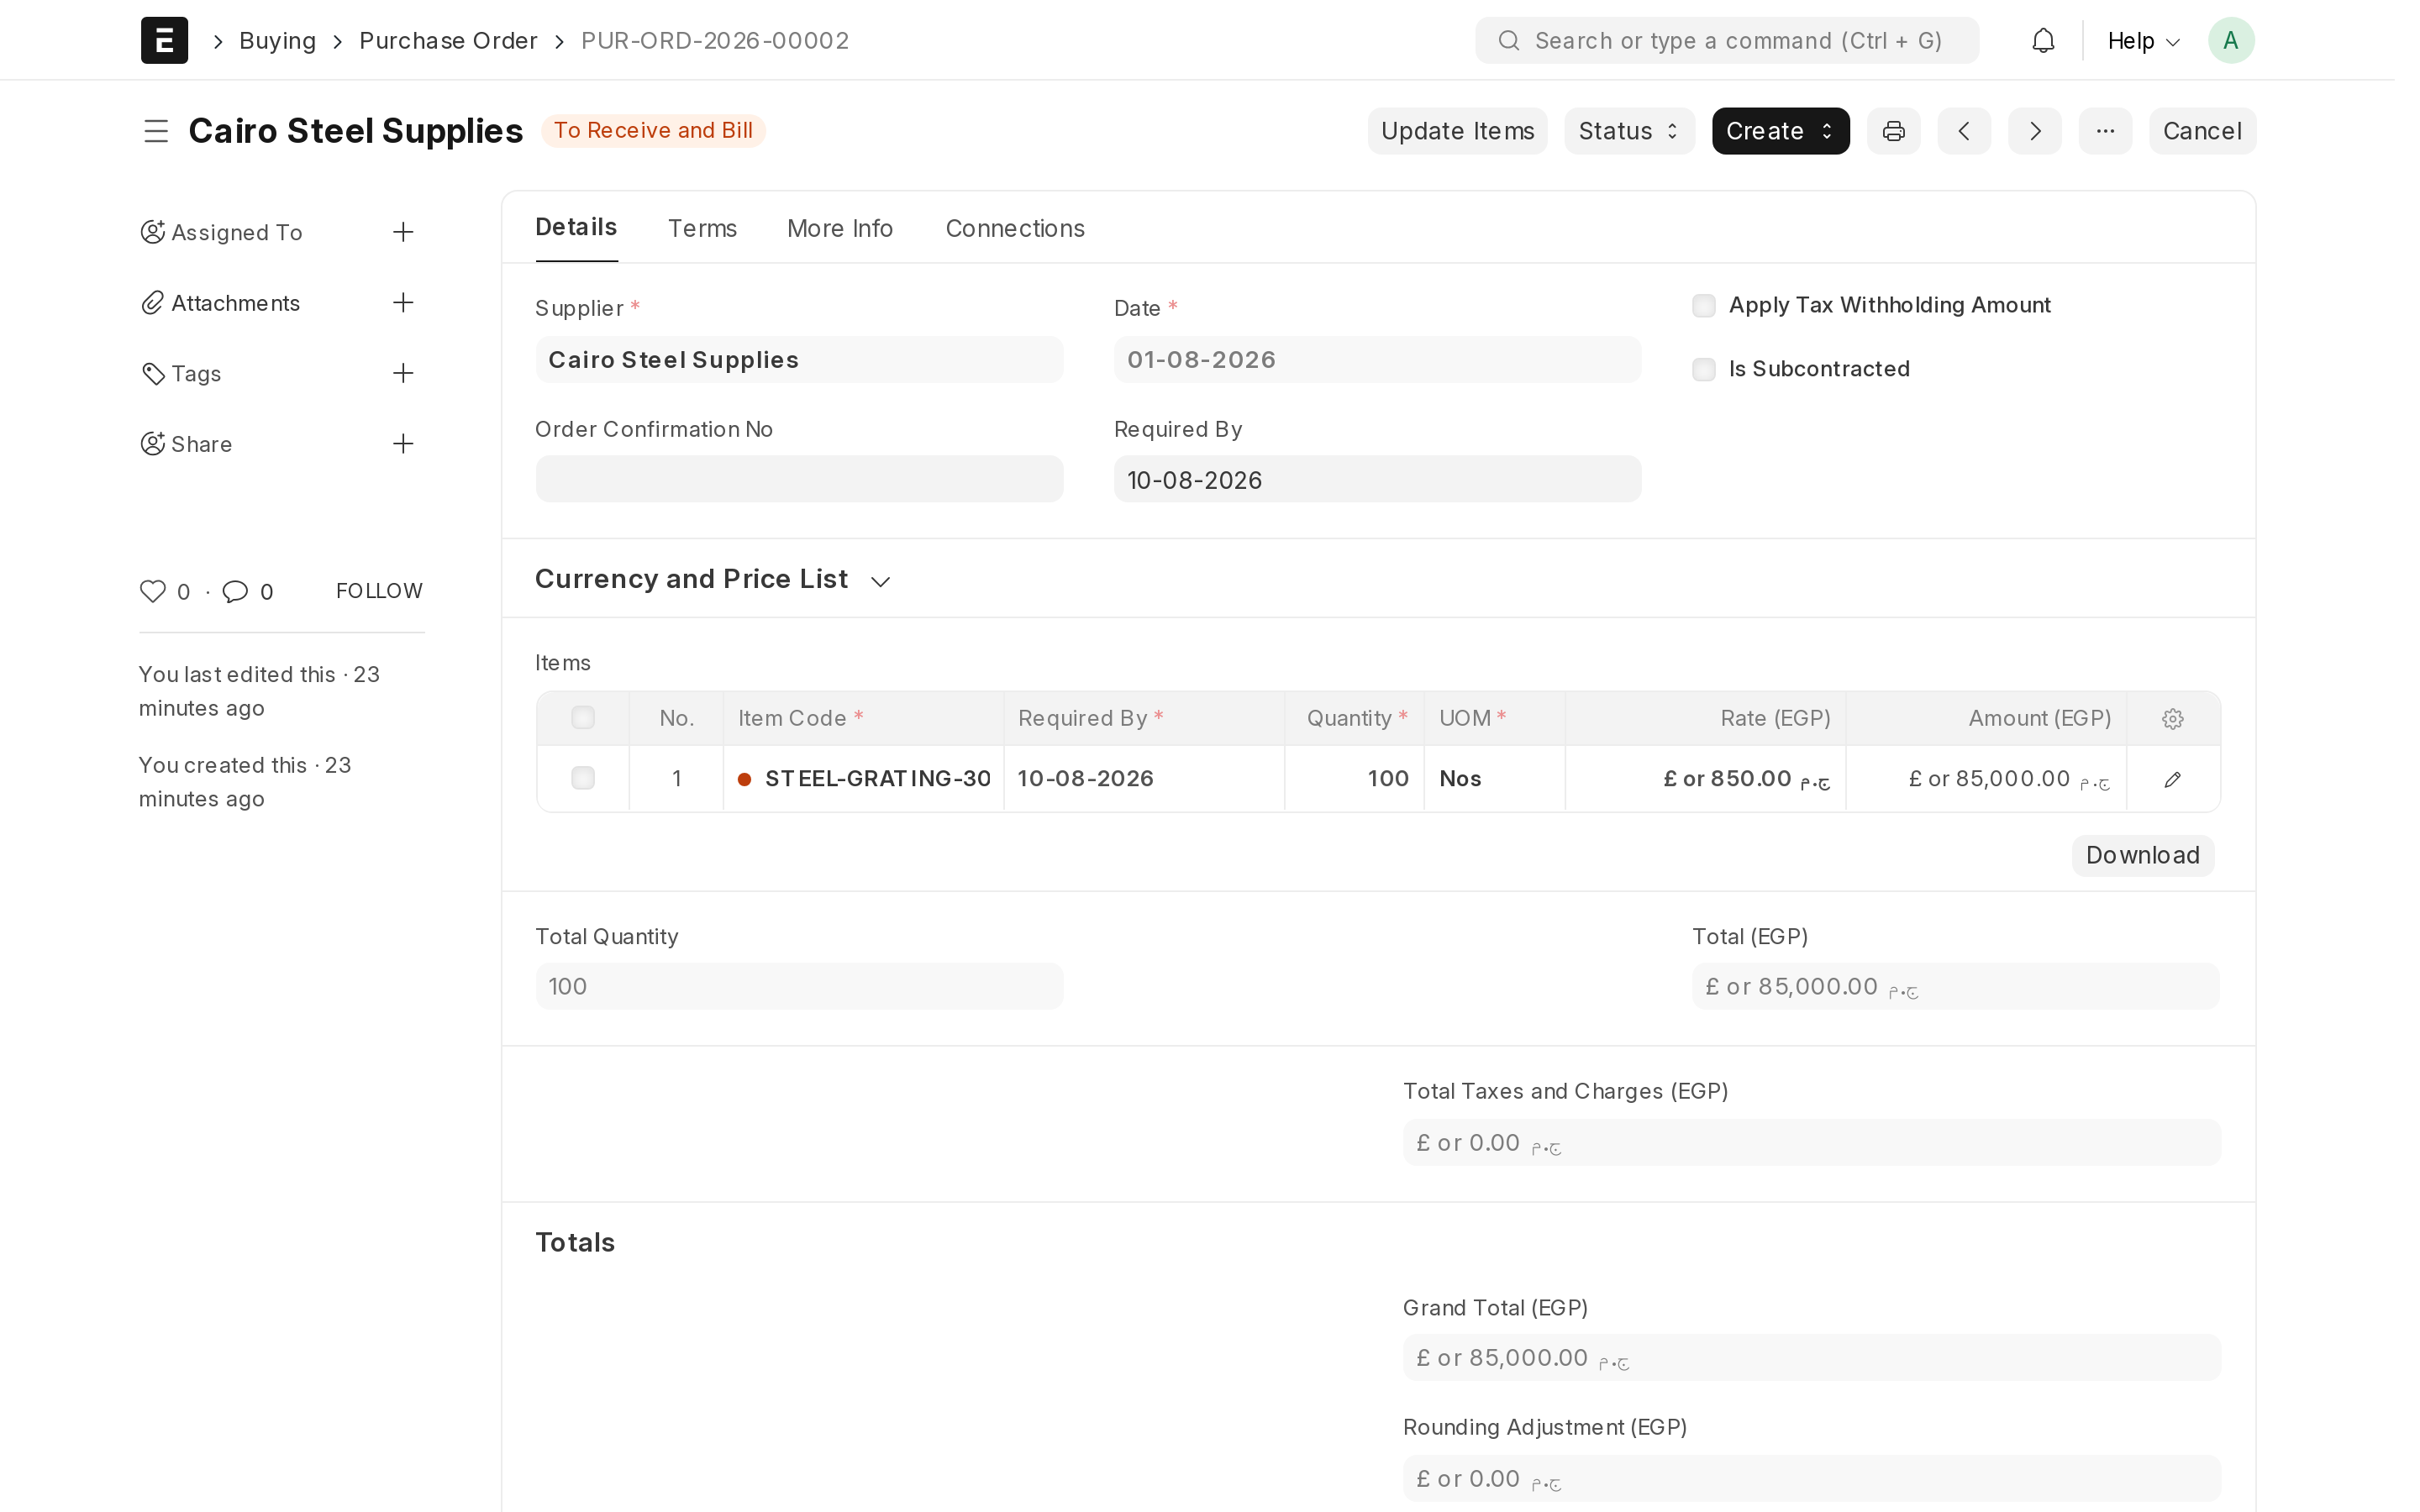
The purchase order is what you send to the supplier: this much, at this price, wanted by this date. It is also what you check the delivery and the bill against later.
- Search Purchase Order → New (or open the material request and click Create → Purchase Order, which fills the lines in for you).
- Choose the supplier.
- Add item rows with quantity and rate — the rate is what the supplier charges you, not your selling price.
- Set the Required By date and check the target warehouse on the rows.
- Click Save, then Submit. The status changes to To Receive and Bill.
- Click Print or Email to send it to the supplier.
Step 3 — Purchase Receipt
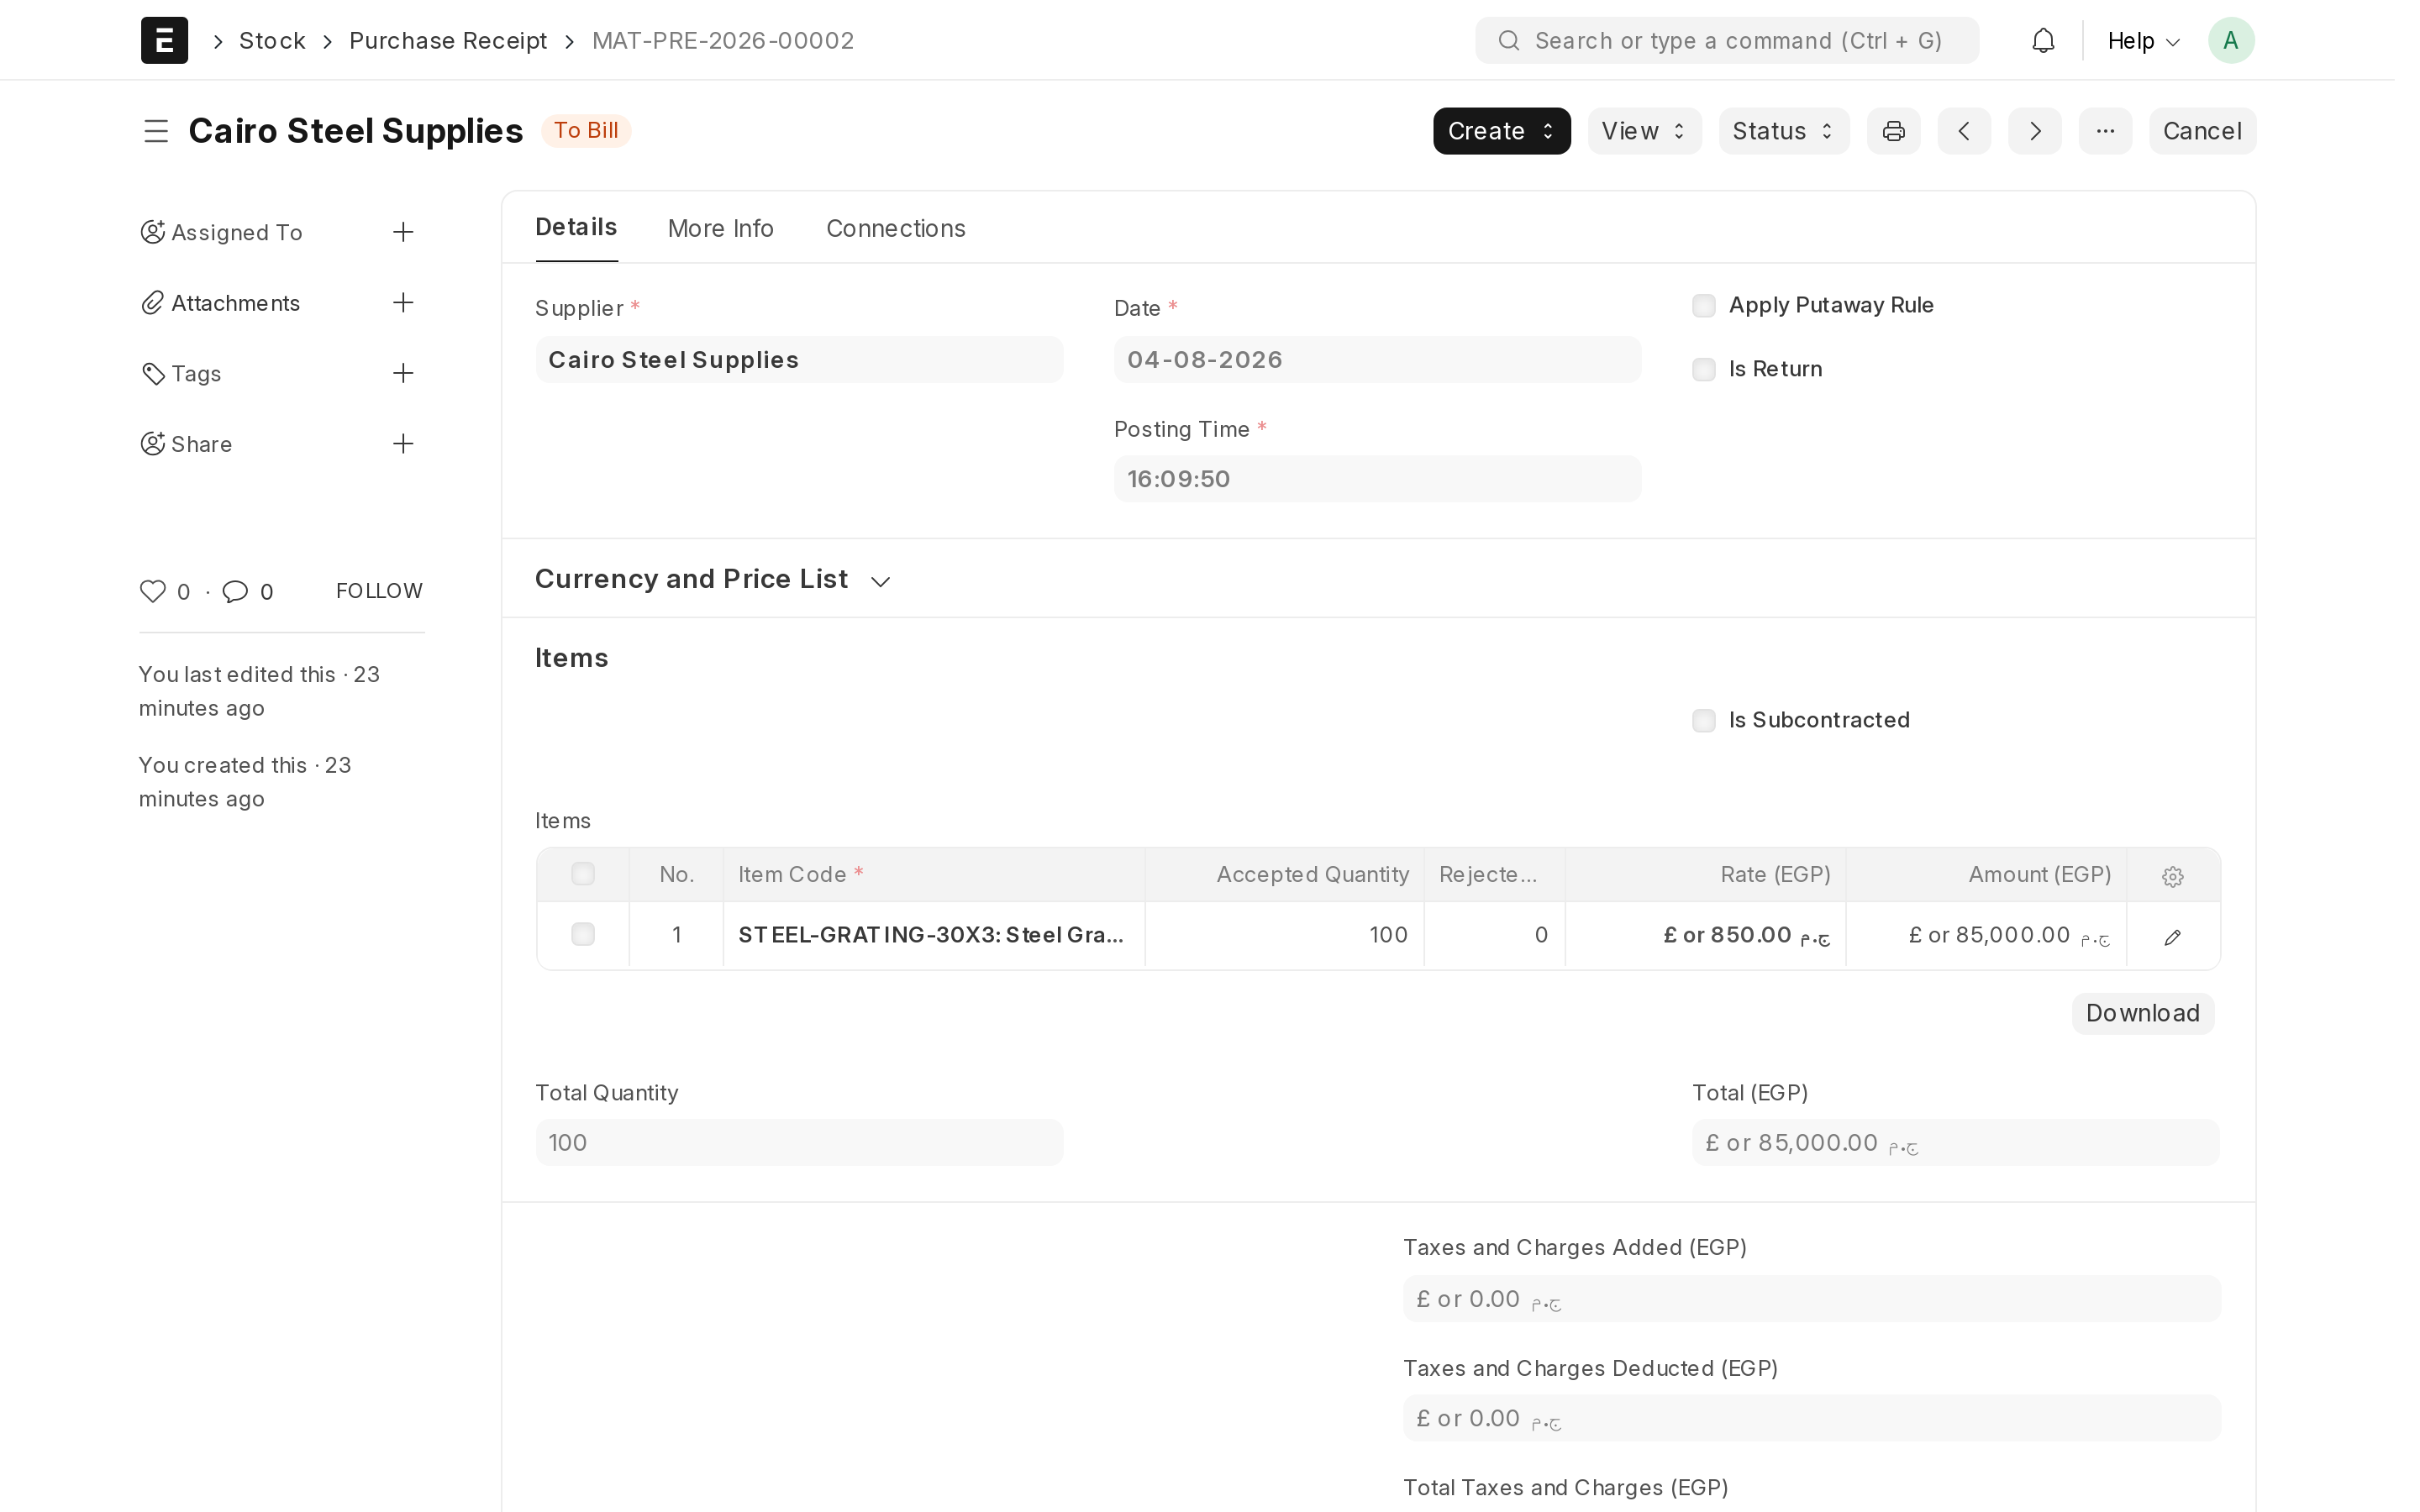
The purchase receipt records that the goods physically arrived. It is the document that puts them into stock, so enter it when the delivery actually lands, not when you order.
- Open the submitted purchase order and click Create → Purchase Receipt. A new receipt opens with the ordered lines already filled in.
- Change the quantity on any line that arrived short or over, so the receipt shows what was really delivered.
- If part of the delivery is damaged or wrong, put the good quantity in Accepted Quantity and the rest in Rejected Quantity, and name a rejected warehouse. The two are then tracked separately instead of mixing into your usable stock.
- Confirm the warehouse on each row.
- Click Save, then Submit. Your stock goes up at the moment you submit.
Step 4 — Purchase Invoice
The purchase invoice records the supplier's bill. This is the document that reaches your accounts, so enter it when the bill arrives.
- Open the submitted purchase receipt (or the purchase order) and click Create → Purchase Invoice.
- Enter the supplier's own invoice number and its date, so your records match the paper you were given.
- Check the taxes on the lines.
- Click Save, then Submit.
Two things are now recorded. The cost is filed either as an expense (things you use up, such as electricity or stationery) or as an asset (things you still own, such as stock and equipment). And the amount you owe this supplier is added to what the reports call payables — money you owe but have not yet paid.
Paying the supplier
The invoice says you owe the money. A payment entry says the money actually left. Until you enter one, the bill keeps showing as unpaid.
- Open the submitted purchase invoice.
- Click Create → Payment Entry.
- Choose the account the money left from (bank or cash), confirm the amount, and Submit.
The invoice status changes to Paid and the supplier's unpaid balance drops. A part payment is fine — enter the smaller amount and the rest stays unpaid.
Warehouses
Your ERP was created with a few standard warehouses already in place. Add one for each real place you keep stock, so reports can tell you not only how much you own but where it is.
- Search Warehouse → New.
- Give it a clear name that matches how your team speaks — "Main Store", "Cairo Branch", "Van 2".
- Choose the parent warehouse, so it appears in the right place in the list.
- Click Save.
Create one warehouse per real physical location. This is the single decision that determines whether stock reports are useful: if two locations share one warehouse record, the system can tell you that you own twelve units but never where they are, and no report will fix that afterwards.
Stock movements that are not a purchase or a sale
Purchases bring goods in and deliveries take goods out. Everything else — moving stock between your own locations, using it up, correcting it — is recorded with a Stock Entry.
- Search Stock Entry → New.
- Choose the type that matches what happened:
- Material Transfer — stock moves from one of your warehouses to another. Set both the source and the target warehouse. Your total stock is unchanged; only its location moves.
- Material Issue — stock leaves without a sale: consumed in production, used internally, scrapped, or given away as a sample. Set the source warehouse only.
- Material Receipt — stock appears without a purchase: found during a count, returned from a job, or your very first opening balance. Set the target warehouse only.
- Add the item rows with quantities.
- Click Save, then Submit. As always, nothing moves until you submit.
After a physical count: Stock Reconciliation
Sooner or later the shelf and the screen will disagree — breakage, an unrecorded issue, a miscount at receipt. Stock Reconciliation is how you make the system match reality after you have physically counted.
- Count the stock properly, on paper or on a phone, warehouse by warehouse.
- Search Stock Reconciliation → New.
- Click Fetch Items from Warehouse. The quantities the system currently believes you have are listed.
- Type the counted quantity next to each item. Leave rows you did not count untouched.
- Click Save, review the differences, then Submit.
The same document is used to enter your opening stock on day one: list what you already own, with the quantity and the value per unit you want the system to carry it at, and submit it once.
The three reports worth knowing
Each of these answers one everyday question. Find them by typing the report name into the
search bar at the top (Ctrl+G).
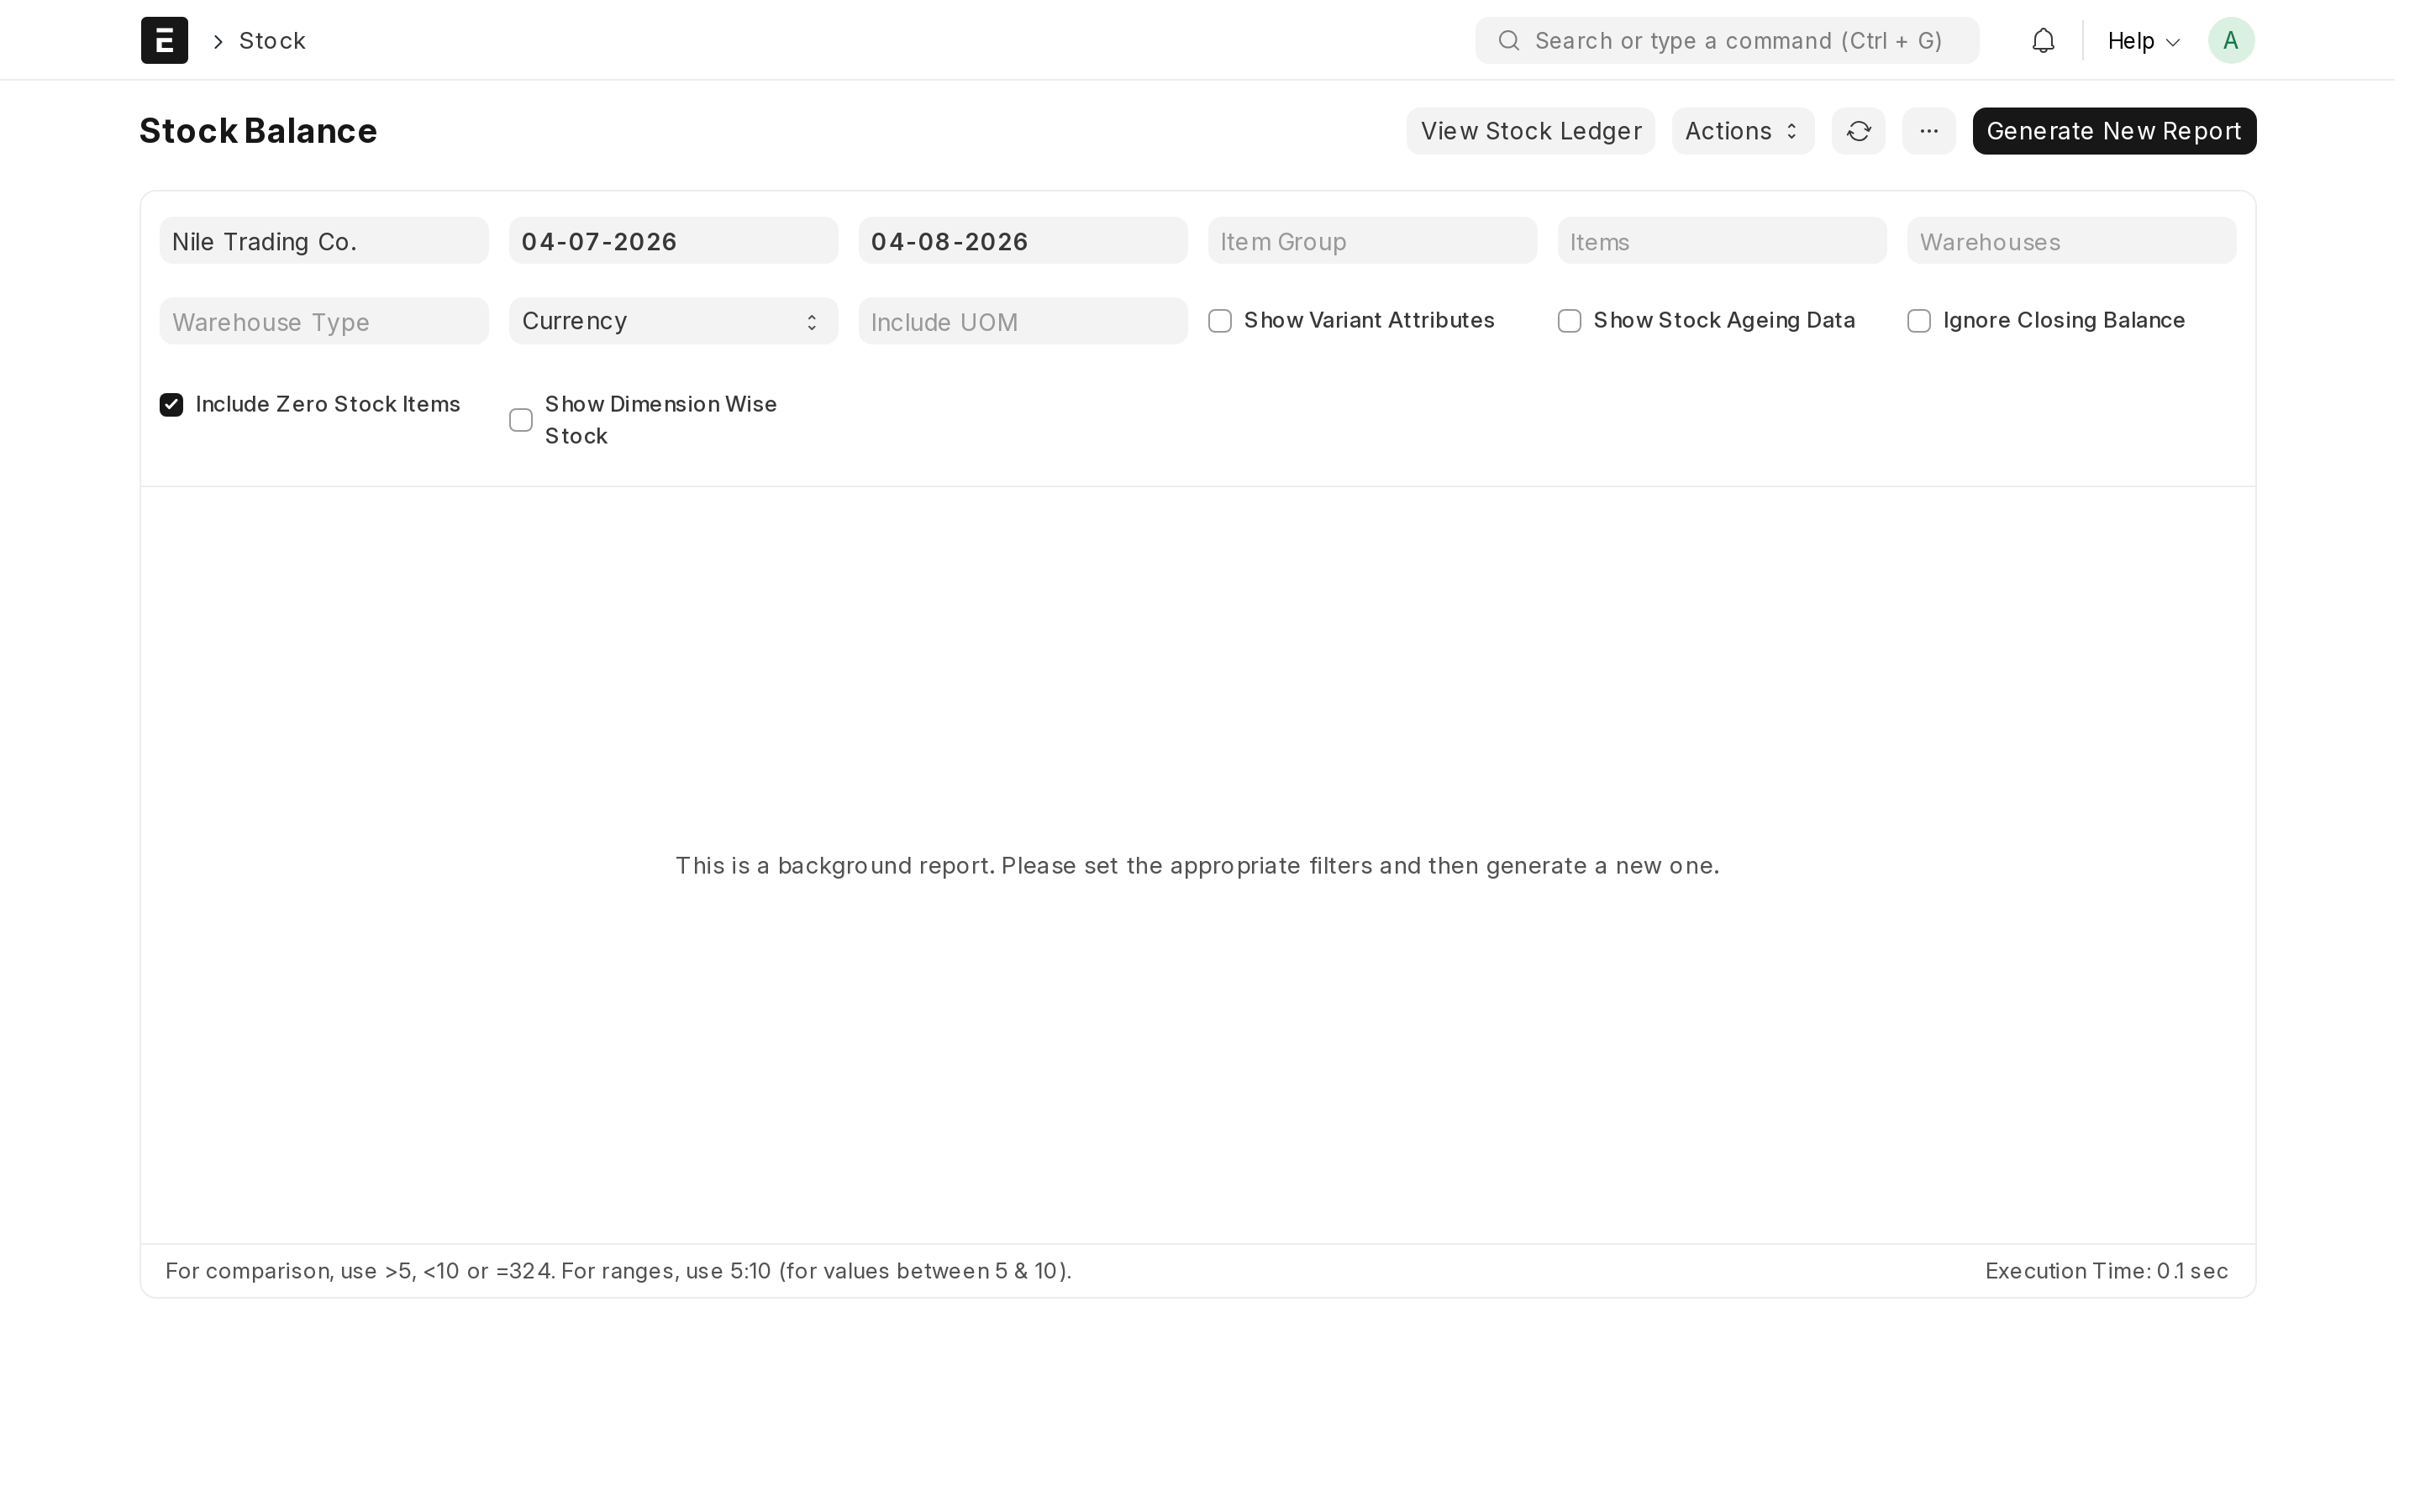
- "Do we have any left?" — Stock Balance shows what you have right now, per item and per warehouse, with its value.
- "Where did it go?" — Stock Ledger lists every movement of an item in order, each one naming the document that caused it.
- "Do I need to order more?" — Stock Projected Qty shows what you will have once the goods you have ordered arrive and the confirmed sales orders ship.
Reorder levels
If an item stops your work whenever it runs out, the system can raise the material request for you instead of you having to remember.
- Open the item and scroll to the Reorder section.
- Click Add Row, then choose the warehouse, the level at which you want to be warned, and the quantity to request.
- Click Save.
- Open Stock Settings once and switch on the option that raises a material request when stock reaches the reorder level. Without it the levels are stored but no request is ever raised.
Set this for the handful of items that hurt when they run out, and leave the rest alone.
Common questions
The supplier sent more than I ordered
Receive what you actually accepted. A purchase receipt can be for a different quantity than the purchase order — the order then shows as partly or over-received.
Can I skip the purchase receipt?
Yes. Enter a Purchase Invoice with Update Stock ticked and it will both bill and receive in one step. This suits cash purchases; separate documents suit credit purchases where the goods and the bill arrive on different days.
I need to return goods to a supplier
Open the purchase receipt and click Create → Return. Submitting the return reduces stock again and leaves a clear trail on both sides.
Something still does not add up
Open the Stock Ledger for that item before changing anything — the document at fault is almost always visible there. If it still looks wrong, email support@nezmaro.com with the item code and your ERP address.