Marketing tools
Your ERP already contains the tools to find customers and stay in touch with them — this chapter switches them on and connects your own email address.
What is already in your ERP
You do not need to buy a separate customer database or a separate mailing tool. All of this comes with Nezmaro and is already switched on in your system:
| Tool | What it does |
|---|---|
| CRM | Follows a prospect from first contact to a paying customer: Lead → Opportunity → Customer |
| Email Campaign | Sends a planned series of emails to a lead or contact over days or weeks |
| Newsletter | Sends one email to a whole list of subscribers at once |
| Web Form | A public form on your website; every submission creates a record — a lead, for example — directly inside your ERP |
| Website / blog | Public pages and blog posts, hosted by your ERP at your own address |
CRM stands for customer relationship management, which in practice means one place that holds every person who might buy from you and every conversation you have had with them. The advantage here is that it sits on the same data as your invoices and your stock: a lead that becomes a customer keeps its whole history, and you never copy information between two separate systems.
Switching the tools on
The modules are installed but hidden until your account has permission to see them. This button grants that permission.
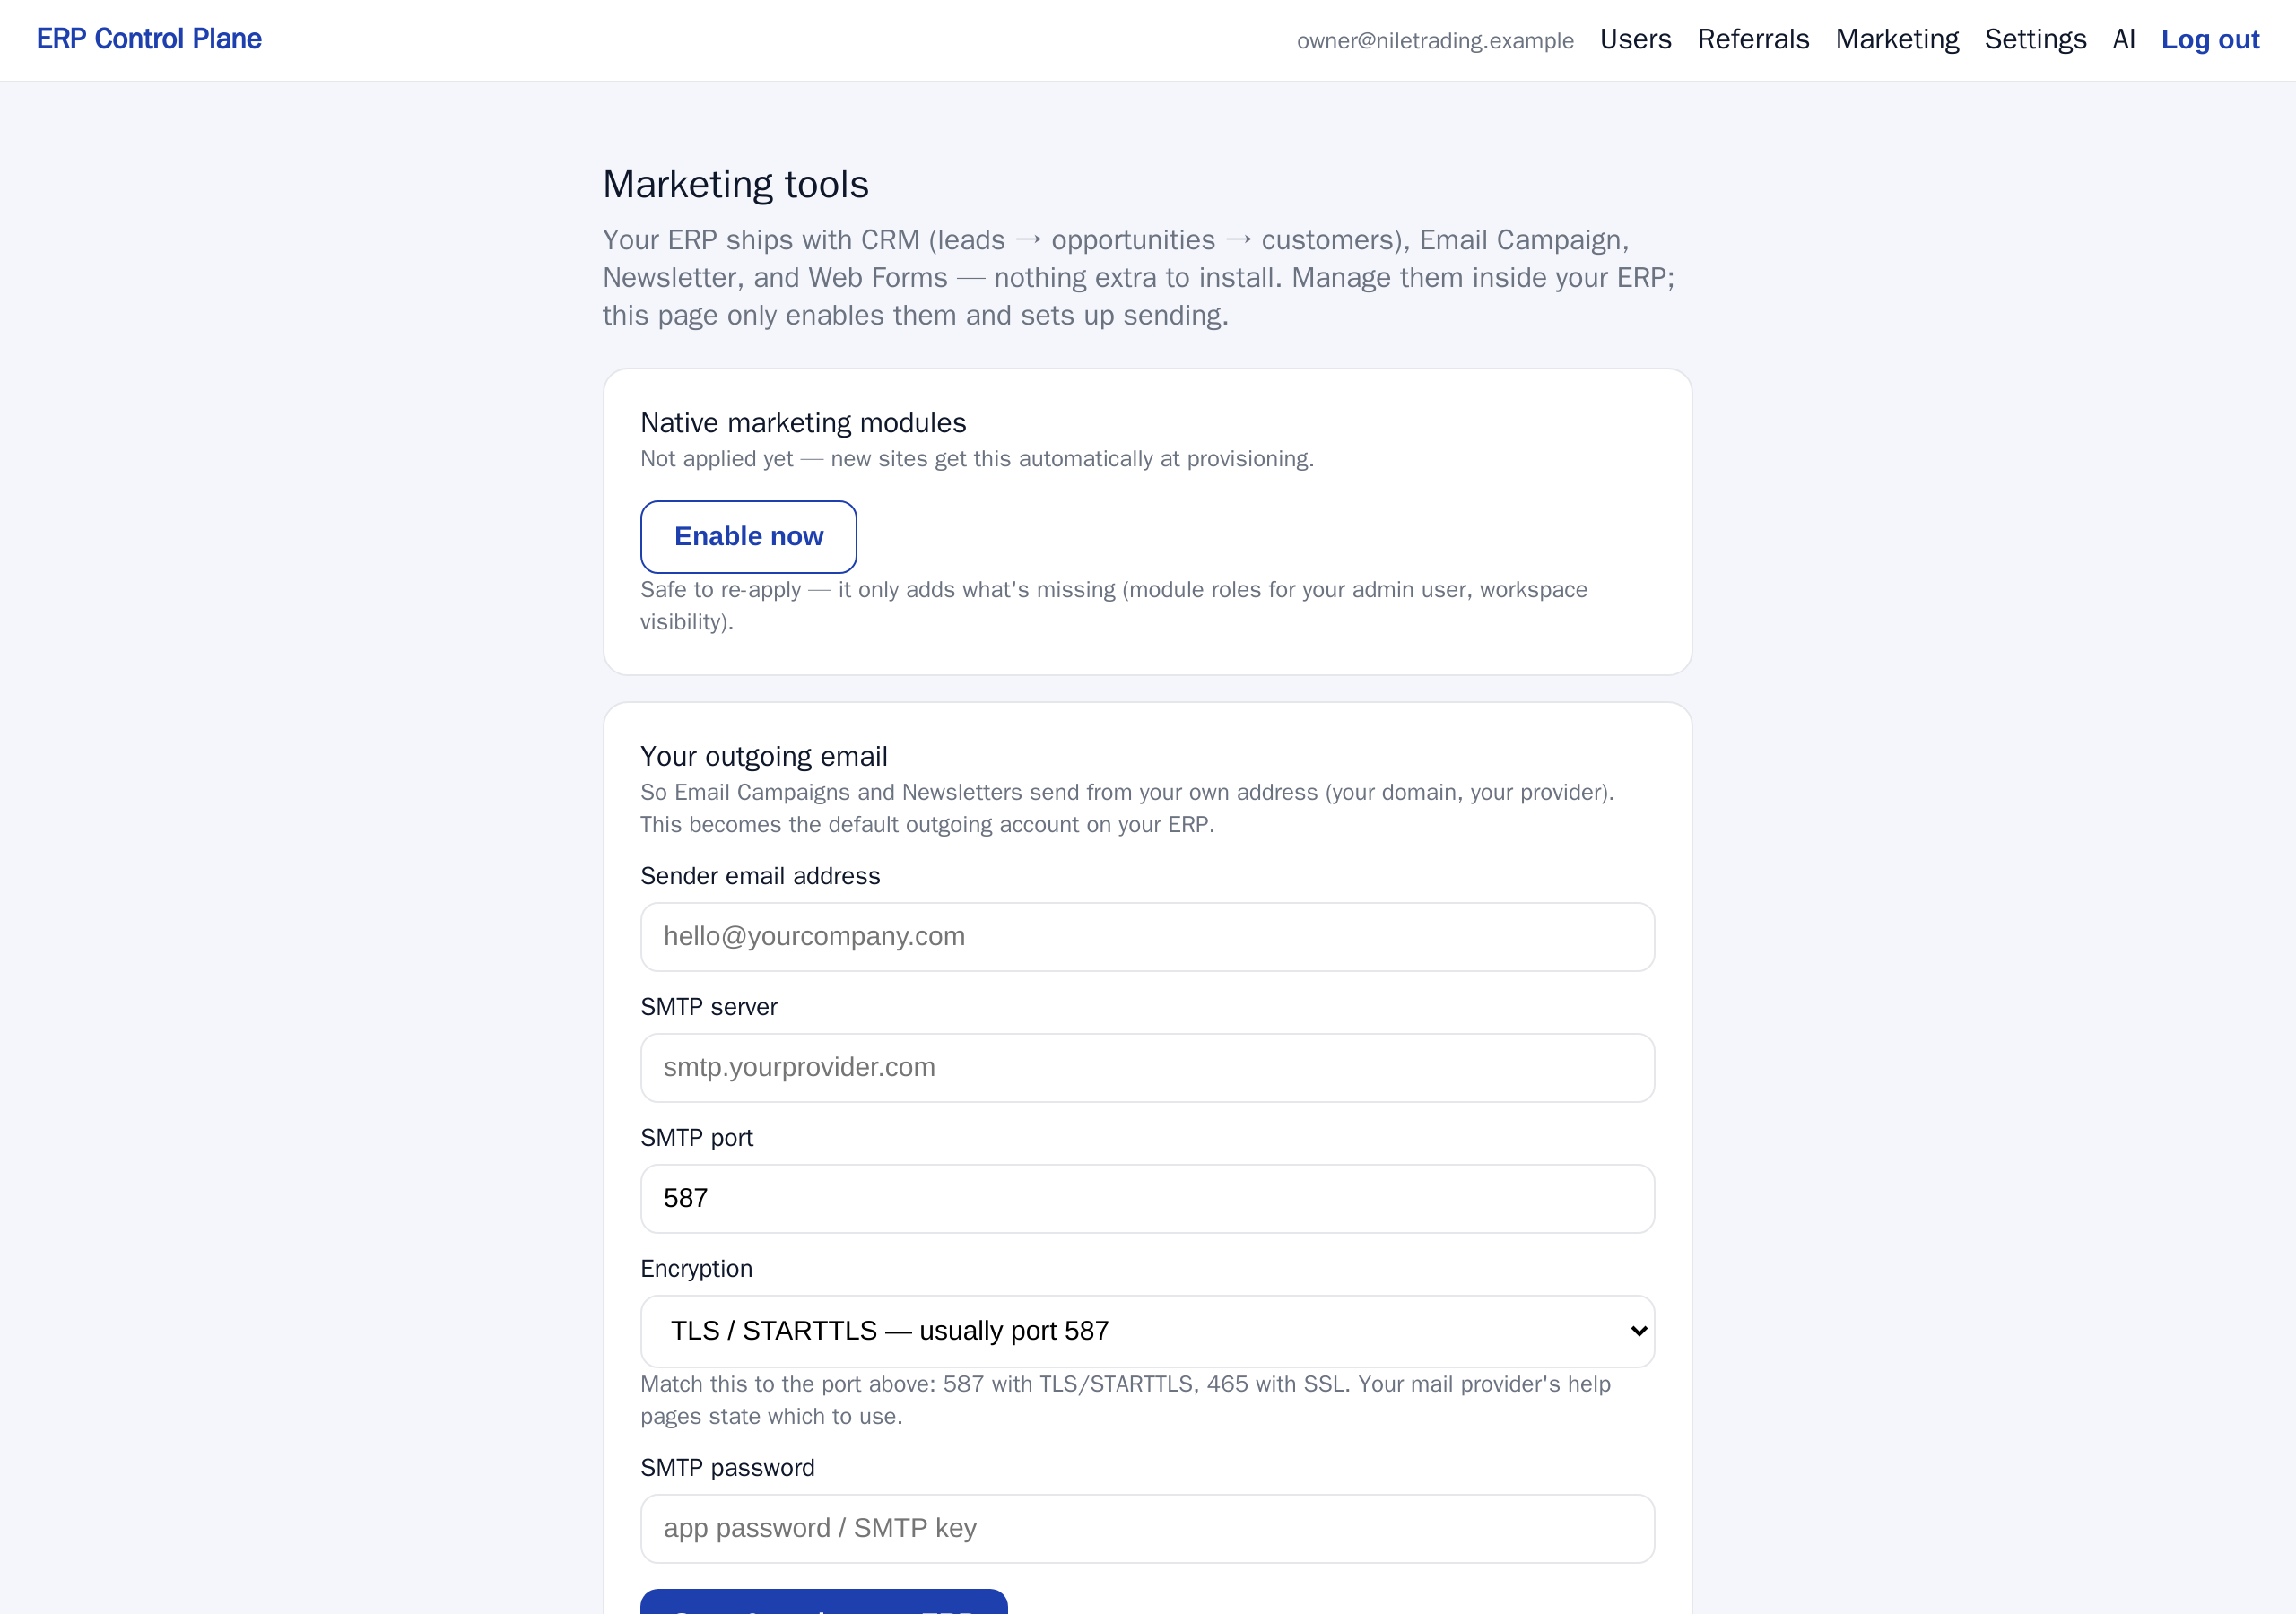
- Open the control panel at app.nezmaro.com and open Team & messages → Marketing tools in the menu.
- On the first card, click Enable now. If it has been applied before, the button reads Re-apply now instead.
- Wait for the confirmation message at the top of the page.
- Go to your ERP and open the CRM and Website workspaces — the tools are now visible in the menu down the side.
Behind the scenes this does two small things: it gives your ERP's administrator the roles that unlock these modules (Sales Manager, Newsletter Manager, Website Manager), and it makes sure the CRM and Website workspaces are visible. Nothing is installed, and no role you already have is removed.
Sending from your own email address
Campaigns and newsletters must go out from your address — something like
hello@yourcompany.com — and not from ours. Recipients trust an address at your own
domain, and replies then come back to you. So before you send anything to anyone, connect the
mailbox your company already uses.
The details come from your email provider: Google Workspace, Microsoft 365, your hosting company, or a dedicated sending service. Their help pages list all of them together, usually under a heading such as "SMTP settings". Fill in the second card on the Marketing page:
| Field | What to put in it |
|---|---|
| Sender email address | The address your mail will appear to come from, for example hello@yourcompany.com |
| SMTP server | Your provider's outgoing mail server, for example smtp.yourprovider.com. SMTP is the standard every mail system uses to hand messages to one another. |
| SMTP port | The numbered door on that server your provider tells you to use — almost always 587 or 465 |
| Encryption | A dropdown with three choices. Pick the one that matches the port — see below |
| SMTP password | The password — or the app password — for that mailbox |
Which encryption to choose
Encryption keeps your password and your messages unreadable while they travel to the mail server. The Encryption dropdown offers three choices, and your provider expects one specific choice for the port you entered:
- TLS / STARTTLS — usually port 587. The connection opens as an ordinary one and then upgrades itself to an encrypted one. That upgrade step is what the word STARTTLS means. This is by far the most common setting today; choose it if your provider does not say otherwise.
- SSL — usually port 465. The connection is encrypted from the very first moment, with no upgrade step.
- None (unencrypted). No protection at all. Choose this only when your provider explicitly asks for it — typically an internal mail relay that recognises your server by its address and requires no password.
- Fill in the five fields.
- Click Save & push to my ERP.
- Read the message at the top of the page. It confirms that the outgoing account was created or updated on your ERP, and names the sender address it will use.
Prove it works before you run a campaign
A campaign that fails silently is worse than no campaign at all. Once your sender address has been saved, a third card appears on the Marketing page: Test it.
- Click Send test email. The message is sent by your own ERP, through the account you set up above, to the email address you log in with.
- Check that inbox — and the spam folder too, because the first message from a brand-new sender often lands there.
- If nothing arrives, or the page reports that the send failed, the settings are wrong. The usual causes are a mistyped server name or port, an encryption choice that does not match the port, or a provider that requires an app password instead of your normal login password.
Only once a test email has actually reached you should you write your first campaign.
From a lead to a customer
The CRM is a three-stage funnel. Each stage is a document in your ERP, and each one creates the next with a single button, so nothing is ever retyped.
| Stage | What it means |
|---|---|
| Lead | Someone who might buy: a name, a company, a phone number. |
| Opportunity | A real, identified deal — you know roughly what they want and what it is worth. |
| Customer | They bought. From here on they belong to the sales side of the ERP: quotations, orders, invoices. |
Capture the lead
Record the contact while it is fresh, so nothing depends on someone's memory or their notebook.
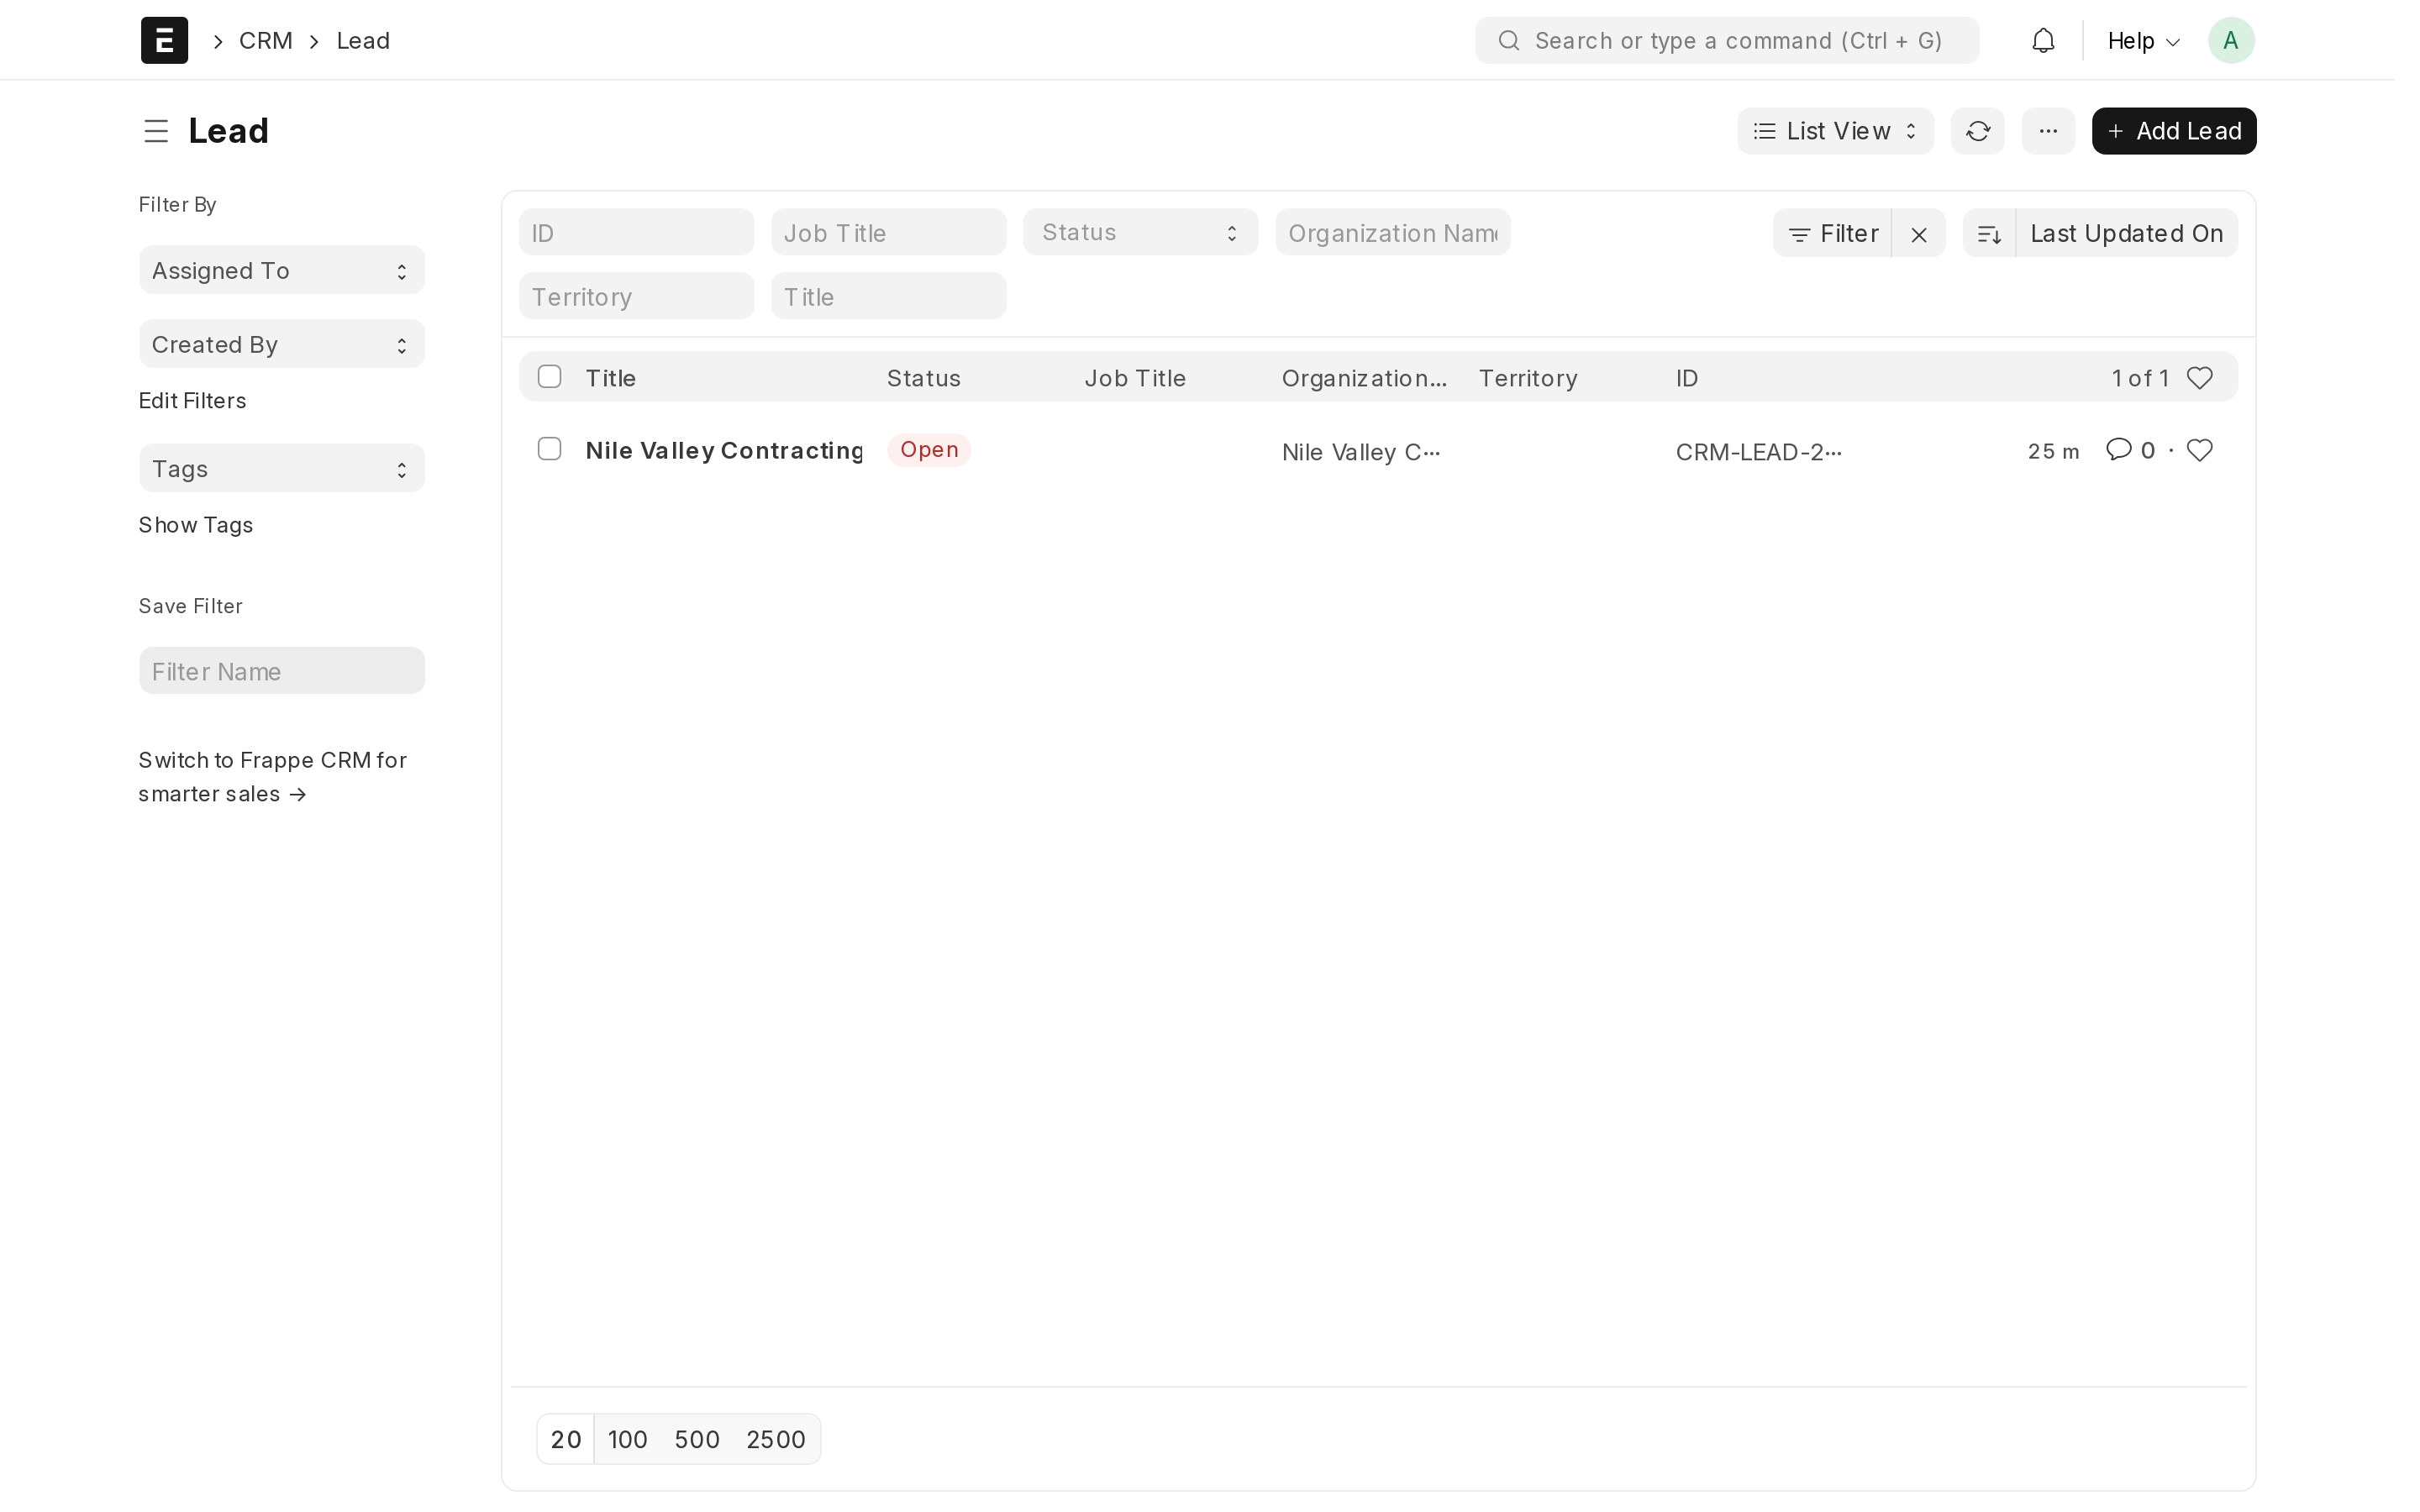
- In your ERP, type Lead into the search bar at the top (
Ctrl+G) and choose New. - Enter at least the person's name, plus the company name, email and phone if you have them.
- Click Save. From now on, record every call and every email against this one record so the whole history stays in one place.
Convert it to an opportunity
Do this once you know what the person actually wants, so the deal can be counted and followed rather than remembered.
- Open the lead and click Create → Opportunity.
- The contact details carry over automatically. Add what the customer is interested in and the value you expect.
- Click Save. You can now send a quotation straight from the opportunity with Create → Quotation, which starts the sales cycle described in the Selling chapter.
Turn it into a customer
When the deal is won, open the opportunity and click Create → Customer. The same button also exists on the lead itself, for the small deals that never needed an opportunity stage. From that moment the record behaves like any other customer, and you can invoice it normally.
Newsletters need an email group
A newsletter is not addressed to individual people. It is addressed to an Email Group, a named list of subscribers. So the order of work is: create the group first, put people into it, then write the newsletter.
- Search for Email Group → New and give it a clear name, such as
CustomersorNewsletter. - Add subscribers to the group — one at a time, or by importing a list.
- Search for Newsletter → New, choose that email group, write the subject and the body, and send.
Keep separate groups for genuinely different audiences — existing customers and cold prospects should rarely receive the same message.