Getting started
What you have bought, how it gets built for you, and the two web addresses you will use from now on.
What you get
An ERP is one system that holds the working records of a company: what you sell, what you buy, what you hold in stock, what customers owe you and what you owe suppliers. Instead of one spreadsheet for stock, another for invoices and a folder of receipts, everything sits in one place and the parts feed each other.
Your company gets its own copy of that system — not an account inside software shared with other companies. It runs at its own web address, and your records are stored separately from every other customer's. In plain terms: nobody outside your company can see your data, and nothing you type is visible to another customer of ours.
The system is Nezmaro. It runs on a mature engine used by thousands of companies around the world, and it covers accounting, stock, sales, purchasing, customers, staff records, projects and manufacturing. We create it for you, put your logo and colours on it, back it up, and keep it running.
How your ERP is created
No technician visits you and nothing is installed on your computers, so it helps to know the whole sequence before you begin.
- You create an account at app.nezmaro.com — your name, your work email and a password. This account is for the control panel, and we email you a link to confirm the address — payment stays closed until you click it.
- You answer a short wizard — one screen: your kind of business, your company name, the web address you want, your country and your ERP's language. Your logo and your team come after the system is running.
- You start the trial on the last screen. Your card is saved and nothing is charged during the first 7 days.
- We build your ERP while a status page updates itself in front of you. This normally finishes in two to three minutes.
- You receive an email with a link to choose your ERP password — you are its administrator. That link is the way in the first time.
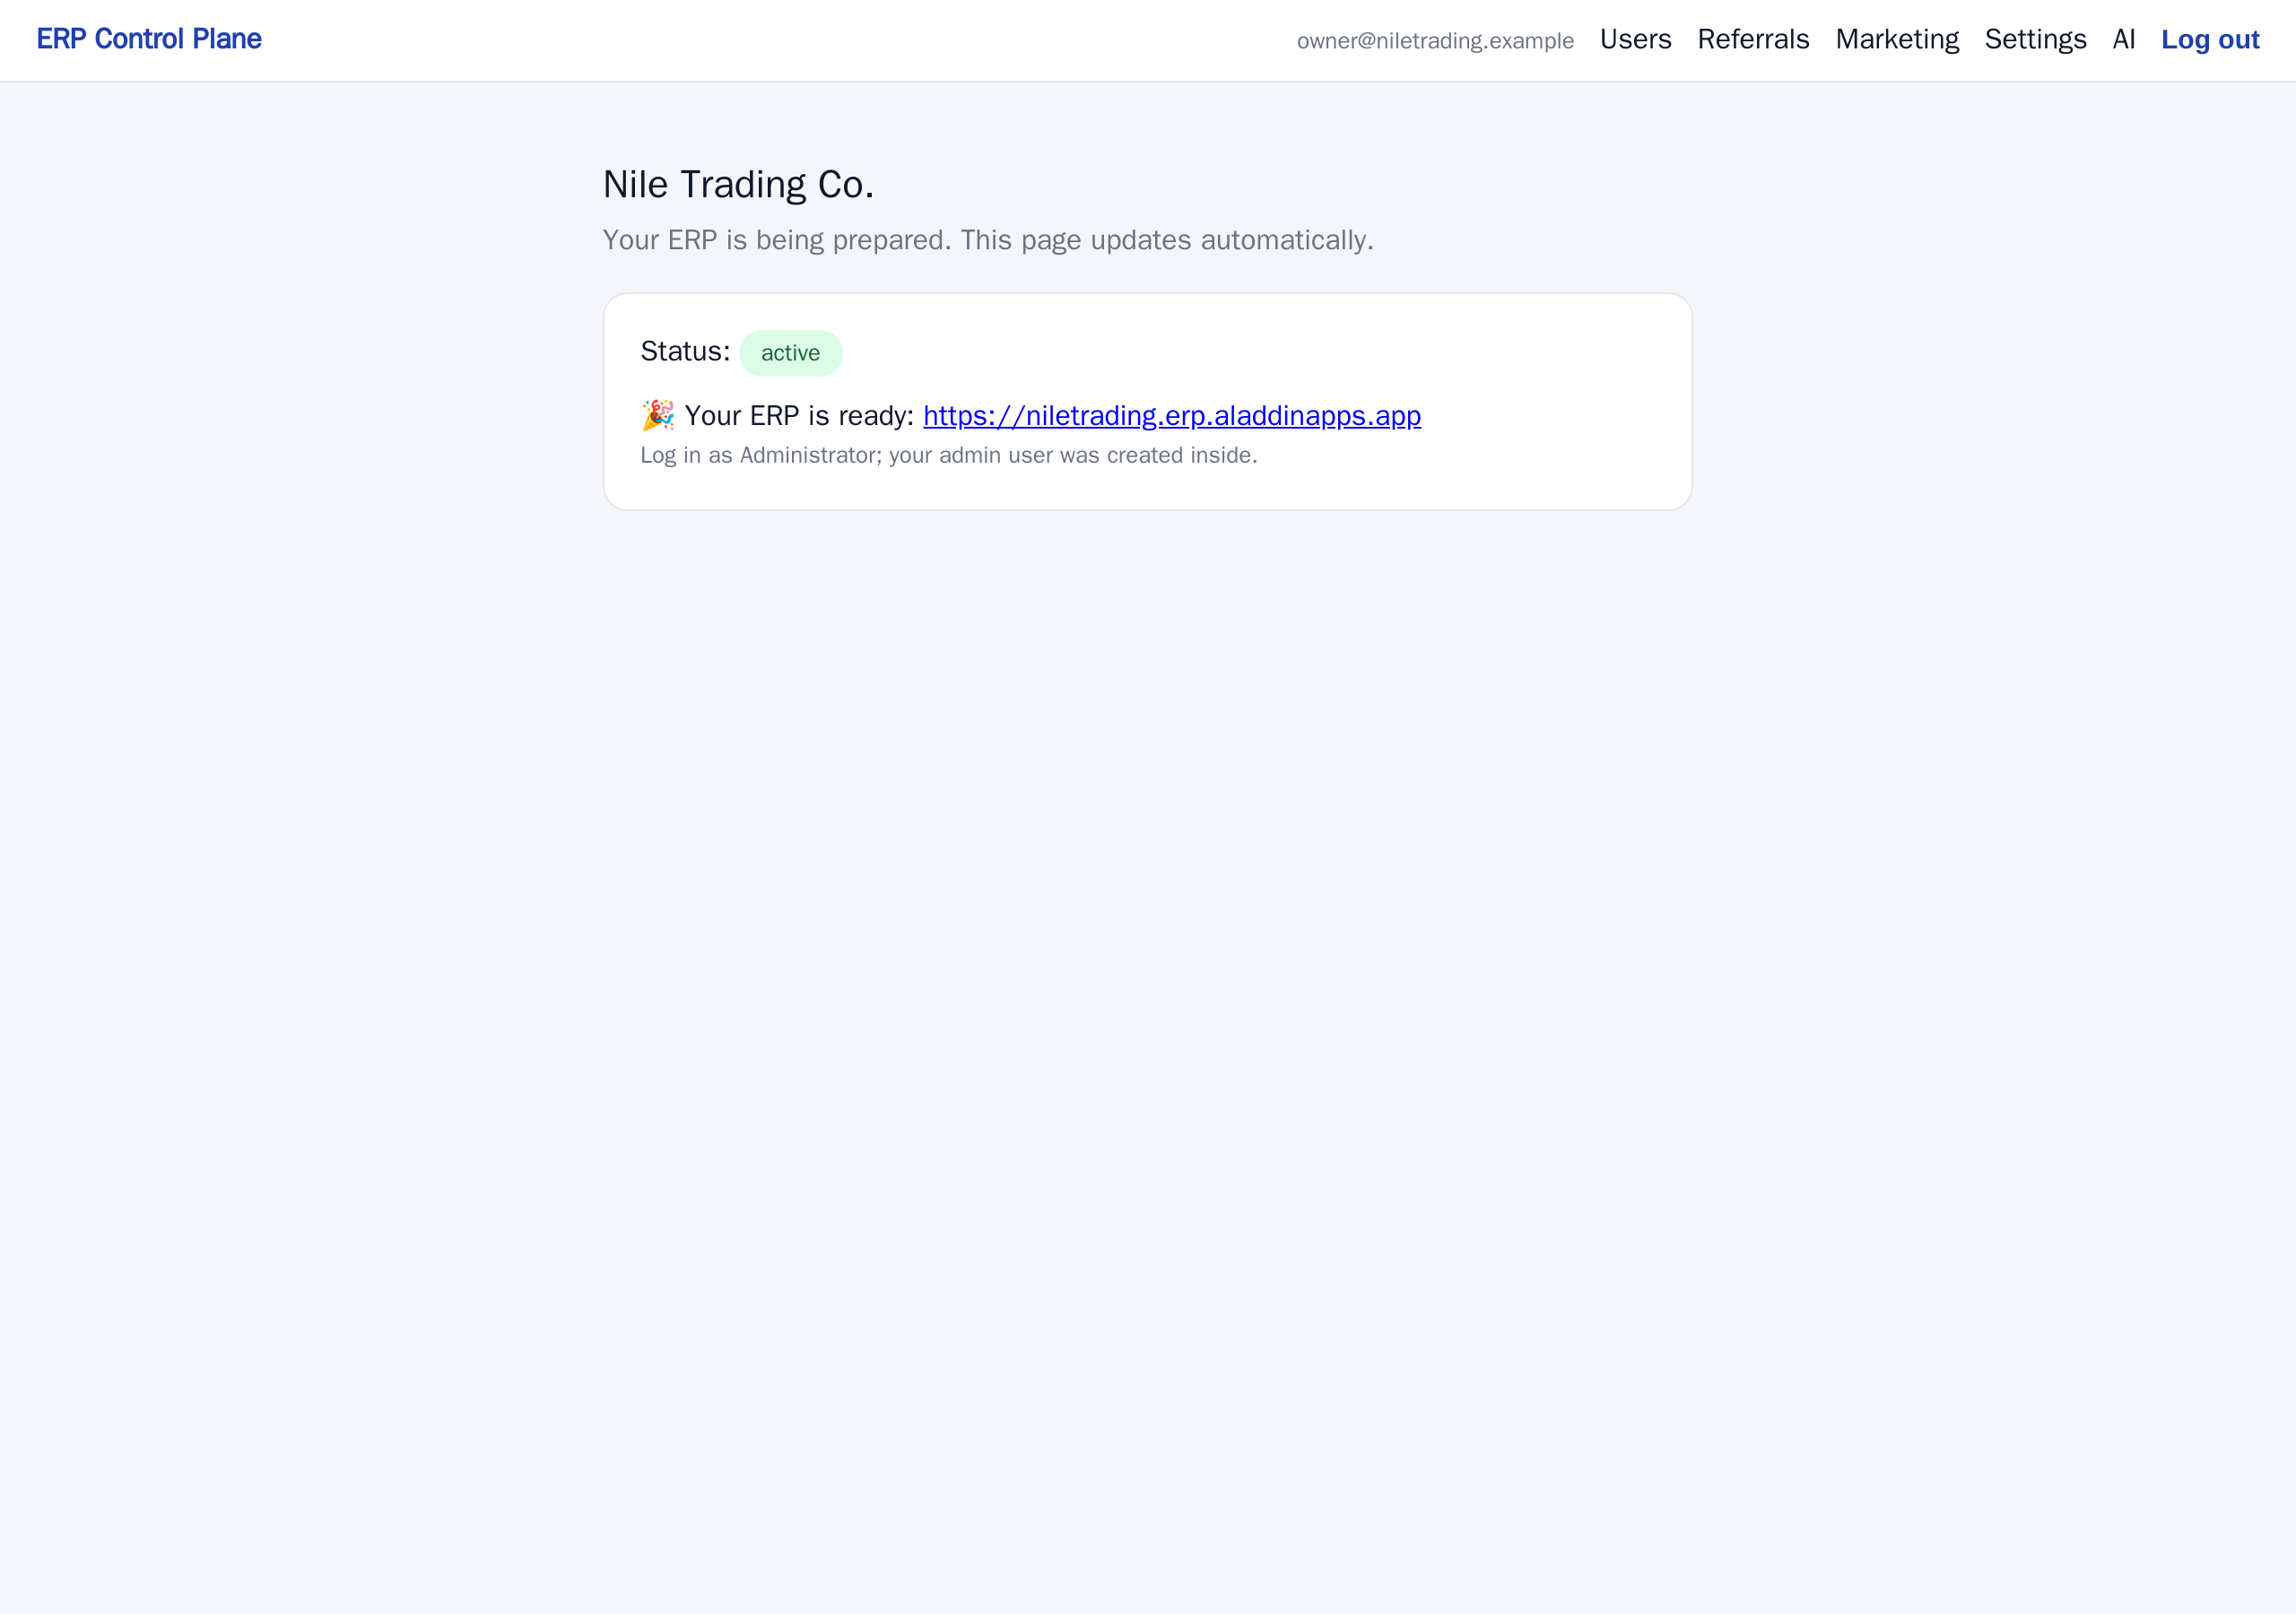
The two addresses you will use
New customers get confused here more than anywhere else, so it is worth two minutes now. There are two separate websites, with two separate passwords, and they do different jobs.
| The control panel | Your ERP | |
|---|---|---|
| Address | app.nezmaro.com | yourcompany.nezmaro.com/app |
| What you do there | Add and remove the people who may use your ERP, choose where your backups are kept, set up your outgoing email and the AI assistant | All daily work: invoices, stock, customers, suppliers, payments, reports |
| Who signs in | The account owner — usually you | You and everyone on your team |
| How often | Rarely — a few times a year | Every working day |
Your first sign-in to your ERP
The invitation email is the only way in the first time, because it lets the person you named choose a password that nobody else — including us — ever sees.
- Open the email titled Set your password — your ERP admin account is ready. If it is not in the inbox, look in the spam or junk folder.
- Click the link inside it. A page belonging to your own ERP opens and asks for a new password.
- Enter a password and confirm it. You are signed in and taken straight into your ERP.
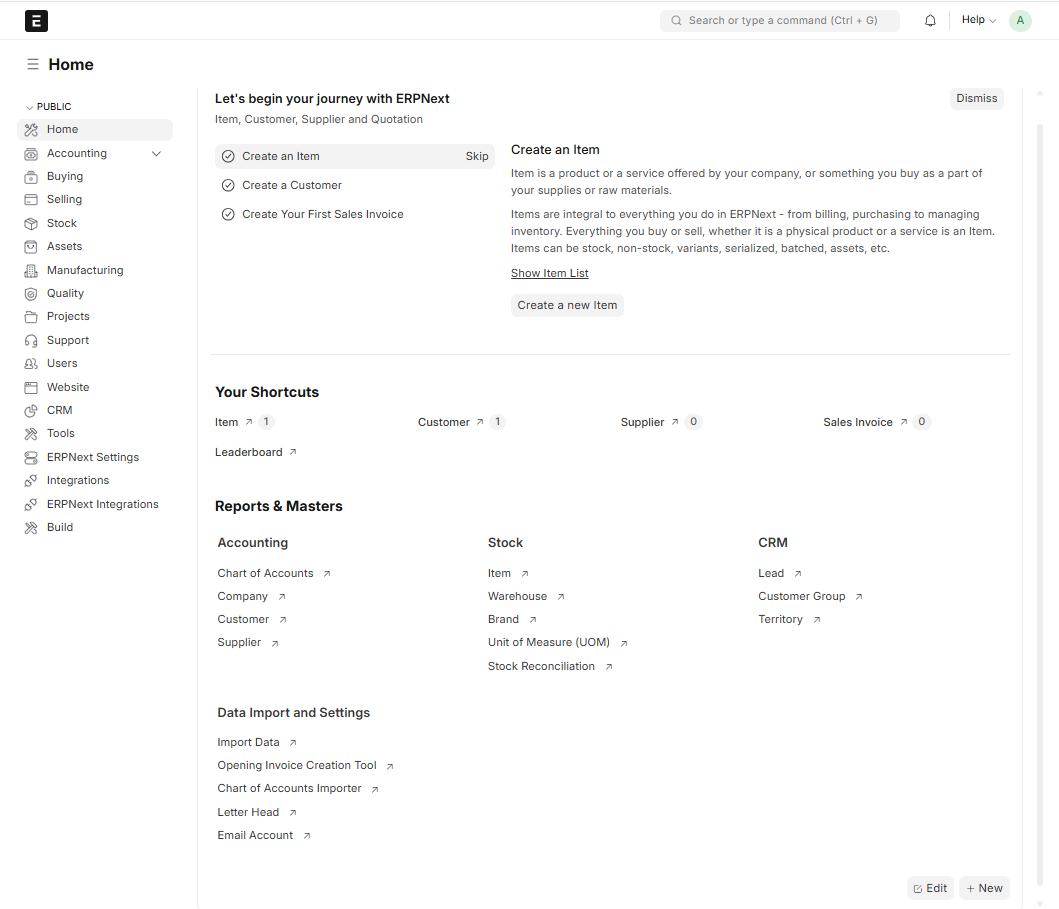
- You land on your edition's first screen — Overview for a company, Counter for a shop or pharmacy, Clinic for a hospital, Shop for an online seller, Service for a restaurant: today's figures across the top, a chart, and tiles for the daily jobs. The first three things to do are the same everywhere: create an Item, create a Customer, then your first Sales Invoice. Working through them is the quickest way to see how the system fits together.
- Save the address in your browser's bookmarks while you are on it. From now on you sign in there with your email and the password you chose.
Choosing your own language
Your ERP starts in the language chosen during signup, but each person sets their own, so one colleague can work in Arabic while another works in English in the same system.
- In your ERP, click the small round button showing your initial, in the top-right corner of the screen.
- Choose My Settings. Your own profile page opens.
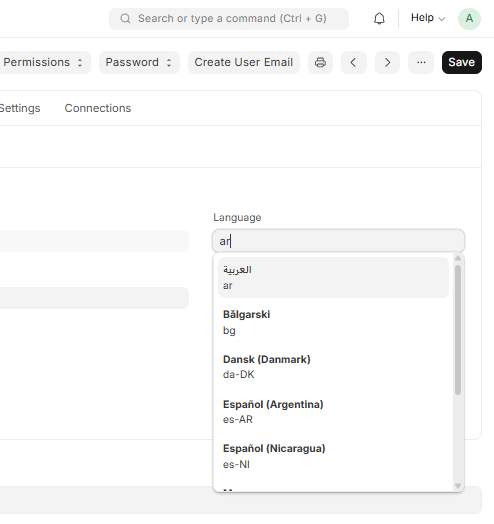
- Find the Language field, click it, and type the first letters of the language
you want — typing
arbrings up العربية. Click it in the list. - Click Save at the top-right of the page (or press
Ctrl+S). - Reload the page. Menus, buttons and field names appear in your language, and Arabic also flips the whole screen to run right to left.
Getting help
If something is unclear or looks wrong, email support@nezmaro.com. Include your ERP address so we can find your system quickly, and say what you saw on screen.